Chat settings
The chat widget displays information about the working hours of your support team, chat status, connected communication channels, and the conversation history of the site visitor.
All messages the visitor has received are grouped by a sender and last activity (conversations from current user session are marked as "Recent" and the rest as "History").

Default chat view can be changed to fit your site’s overall style.
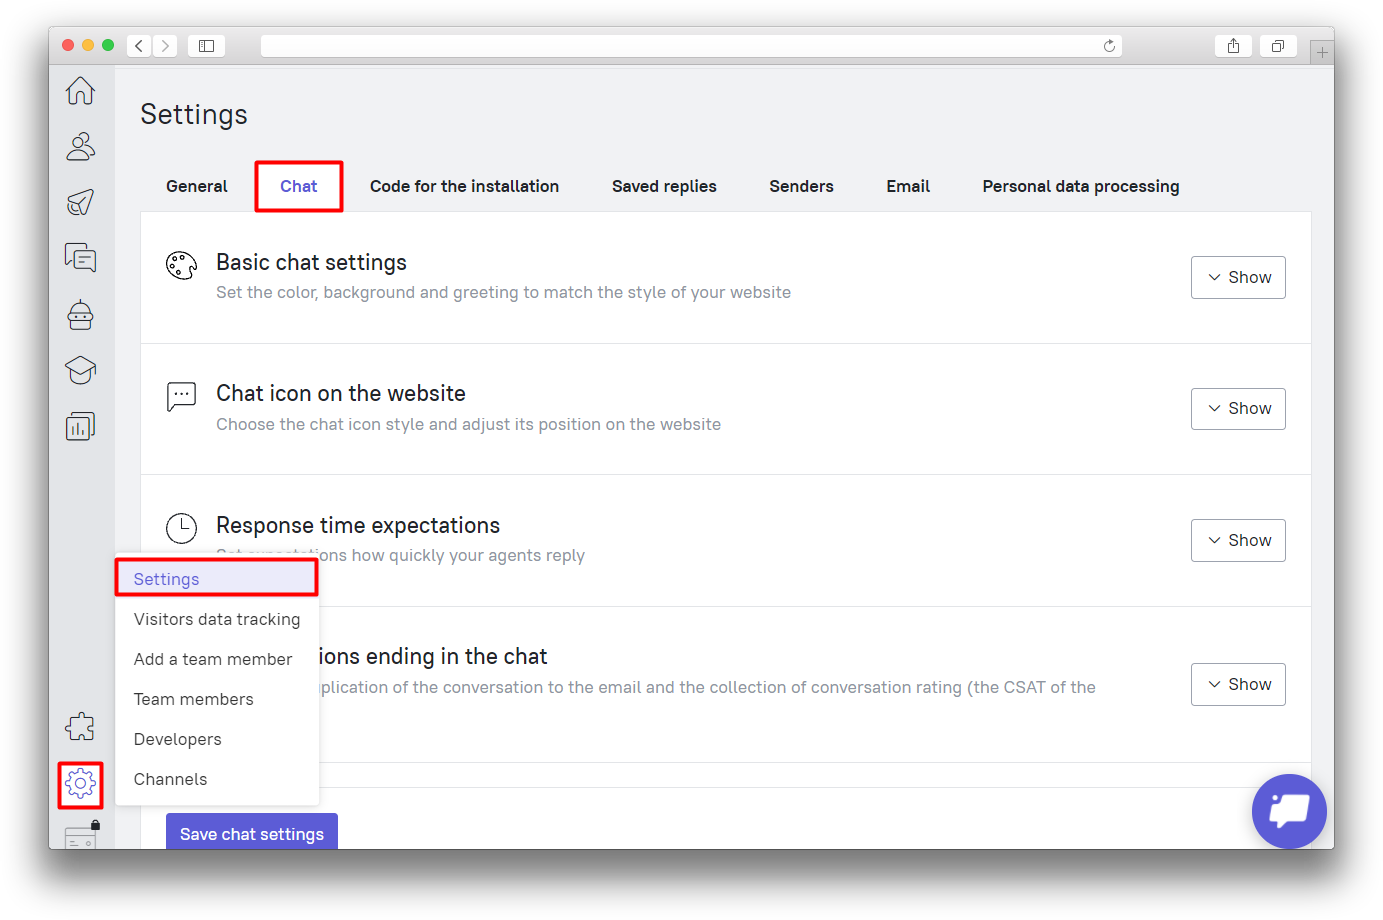
Move to the “Settings” – “Chat” section to start configuring your chat. Each chat setting is displayed in the preview to the right side of the section. It will help you understand what Dashly live chat currently looks like on your website.
Basic chat settings
How to hide the chat
Chat visibility is the first setting you’ll see in the Setting – Chat section. Its options include:
Visible
Chat widget is always visibleHidden
Chat widget is seen only when a new chat message is receivedOnly when there is a conversation
Chat widget is seen only when there was at least one conversationAdvanced settings
Chat visibility settings on pages and devices
Let’s review the latter option in more detail:
You can set the chat widget to only show up (or be hidden) on specific pages of your website or on desktop and tablets (devices with screen width >480px) or smartphones (devices with screen width 320-480px).
Chat widget visibility settings are available for each device type:
Visible on all pages
Visible on all pages except
Hidden on all pages except
Hidden on all pages
You can either configure chat widget visibility settings for specific pages or pages that contain a specific fragment in their URL – in the latter case, the chat widget will be shown (or hidden) on pages that contain the combination of characters you’ve entered in the setting.
When setting up chat visibility, you can combine several conditions to hide the chat widget on one device type and show it on another device type:

The example above makes the chat widget visible on all website pages except for the home page when viewed from a desktop. At the same time, it hides the chat widget on all website pages except for the cart page when viewed from a smartphone.
Chat color theme, active elements color and background
Pick the color, matching your site’s style and your team members’ profile pictures.

You can set Light or Dark mode for the chat. The dark one looks quite stylish, and fits nicely with the dark-colored sites. You can also choose one of the patterns or set a solid color as the background.
Again, all changes will be instantly displayed in the preview on the right.
Default name and greetings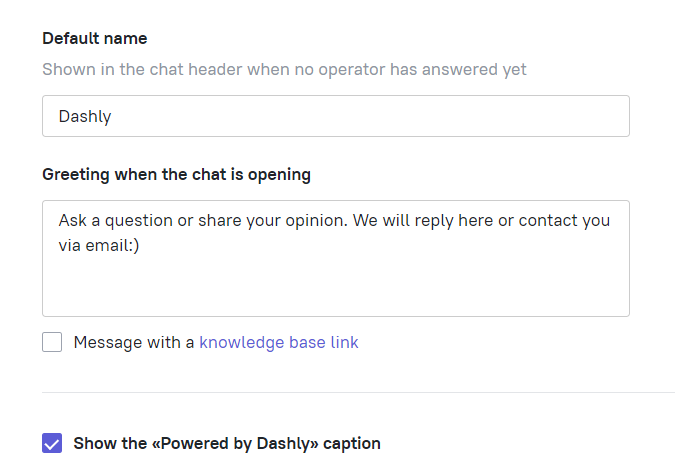
Users will see the name in the chat immediately after opening it, and the greeting will be visible to users if they want to start a dialogue with you first. If a user opens a chat that has already received a manual or automatic message from you, the greeting will not be displayed.
You can add a link to the knowledge base to your welcome message.
Show the "Powered by Dashly" caption
You can hide the "Powered by Dashly" label after purchasing the No branding add-on. The add-on removes all references to Dashly from your site. Disable the "Powered by Dashly" inscription in emails, pop-ups, chat and connect your mail domain to send all the letters from Dashly. To activate the add-on, reach out to us in the chat.
“Message” button action
The button can perform one action:
- Create a single conversation and open it on click (user's chats will be merged into one conversation) or
- Create a new conversation on every click (user's chats will be divided into separate conversations)
Social network icons
Social network icons can be added just above the chat widget so your visitors can choose the most comfortable communication channel for them. To add these, you have to tick the preferable social media and add the link to your page of the corresponding social network.
Don't forget to set up the integration first.
Chat icon on the website
Chat widget
Visitor sees the chat widget in the minimized mode until they open it. After the chat operator contacts the visitor, the widget is replaced with the operator's profile picture. You can choose between two widget modes: Standard and Custom.
For the standard mode icon animation is available. Animations are played randomly every 45 seconds. Custom mode allows you to use an image of your choice. The maximum size is 1 MB, the minimum resolution is 120×120 pixels, and allowed formats are JPG, PNG, GIF.
Text next to the chat icon
You can change the greeting shown in the minimized chat mode. Greet your visitors with something friendly :)
It is possible to hide the greeting message in the minimized chat mode in the web version (uncheck the box). In the mobile version, it is hidden by default.
Chat icon position
The Dashly live chat can be placed in the lower left corner or the lower right corner of the screen. Adjust the icon position by changing the padding if you don't like its current position or if it interferes with the site's design. Please note that for the mobile version of the site, the icon position is configured separately.
Response time expectations
Working hours
Help your visitors understand if you are ready to answer soon.
The schedule affects the chat status (online or offline) and which auto reply users will see if they send a message in chat. The schedule works according to the time zone set for your account (which can be configured in the “Settings” – “General” section).
You can define the working hours for every day, business days, weekends, or all days of the week.
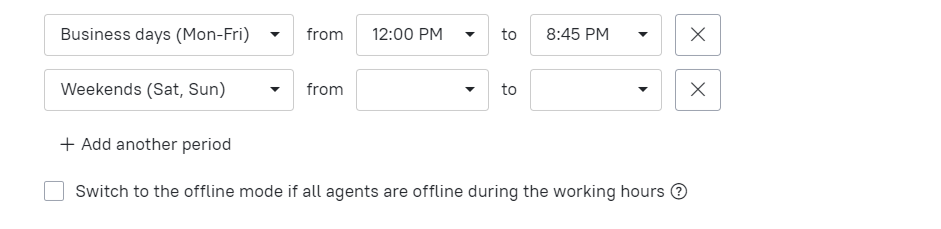
If you work 24/7, just set the day to “Every day” and set the time from 12 AM to 12 AM.
To set lunch time, enable two periods of time: from morning till lunch, and from "after lunch" till the end of working day.
You can also switch to the offline mode if all operators are offline during the working hours. When enabled, this setting changes chat status to offline, if for some reason none of the operators is online during working hours.
Chat header status
Chat status is what your users see in the chat header, under the company name.
You can specify different text for when chat operators are and aren't available.
Auto-replies
Not everyone can afford 24/7 live support, and for some businesses it is simply unnecessary. With Dashly, you can set auto replies to work when your support team doesn't.
The auto-reply is shown when:
the user messaged in a new dialogue;
the user messaged after the previous question was solved;
the user responds to a pop-up with the "Text" response type;
the first message in the leadbot is sent.
Here you can ask the user to leave their contact information — phone or email. The collected data is recorded in the lead card. If the system already has this data, then the field is not shown.
You can set up different auto-replies for working and non-working hours, set a different timeout (time after the user's message) and text. For example, during non-working hours, you can show auto-reply immediately and inform that chat operators will answer in the morning. During working hours, auto-replies only serve as a safety net for the operators, so you can set a longer timeout — if the operator answers during this time, then the auto-reply will not appear.
The limit for auto-reply is 500 characters.
Conversation ending in the chat
Delay before considering the question solved
The number of closed conversations is an important metric in the team performance report. Questions are considered solved after an operator closes the conversation and the visitor doesn't send any messages during this question for the set time period.
Timeout before sending the conversation's duplicate to the lead's email
If the visitor doesn't read a new message from a chat operator during the specified time period, the conversation will be sent to the lead email (provided that the email is defined).
Conversation rating
Once the issue in the dialogue was resolved and the dialogue was closed, the visitor will automatically receive a request to rate the work of chat operators. Thus, you receive another metric of your effectiveness.
If you don't want to send users a rating request, simply disable this feature.
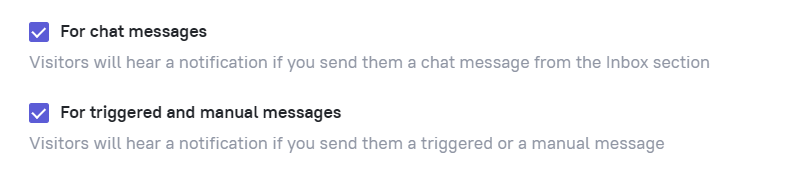
Sound notifications on your website
Here you can disable or enable sound notifications your visitors hear, separately for dialogue messages and for triggered/manual messages.