
Segmentation
Different people with various interests and goals visit your website, so they all have to be communicated with in different ways. Segmentation is there exactly to help you with that.
You can select and save any group of leads as a segment, based on their events and properties.
Go to the “Lead database” section. Find the segmentation panel on the left:
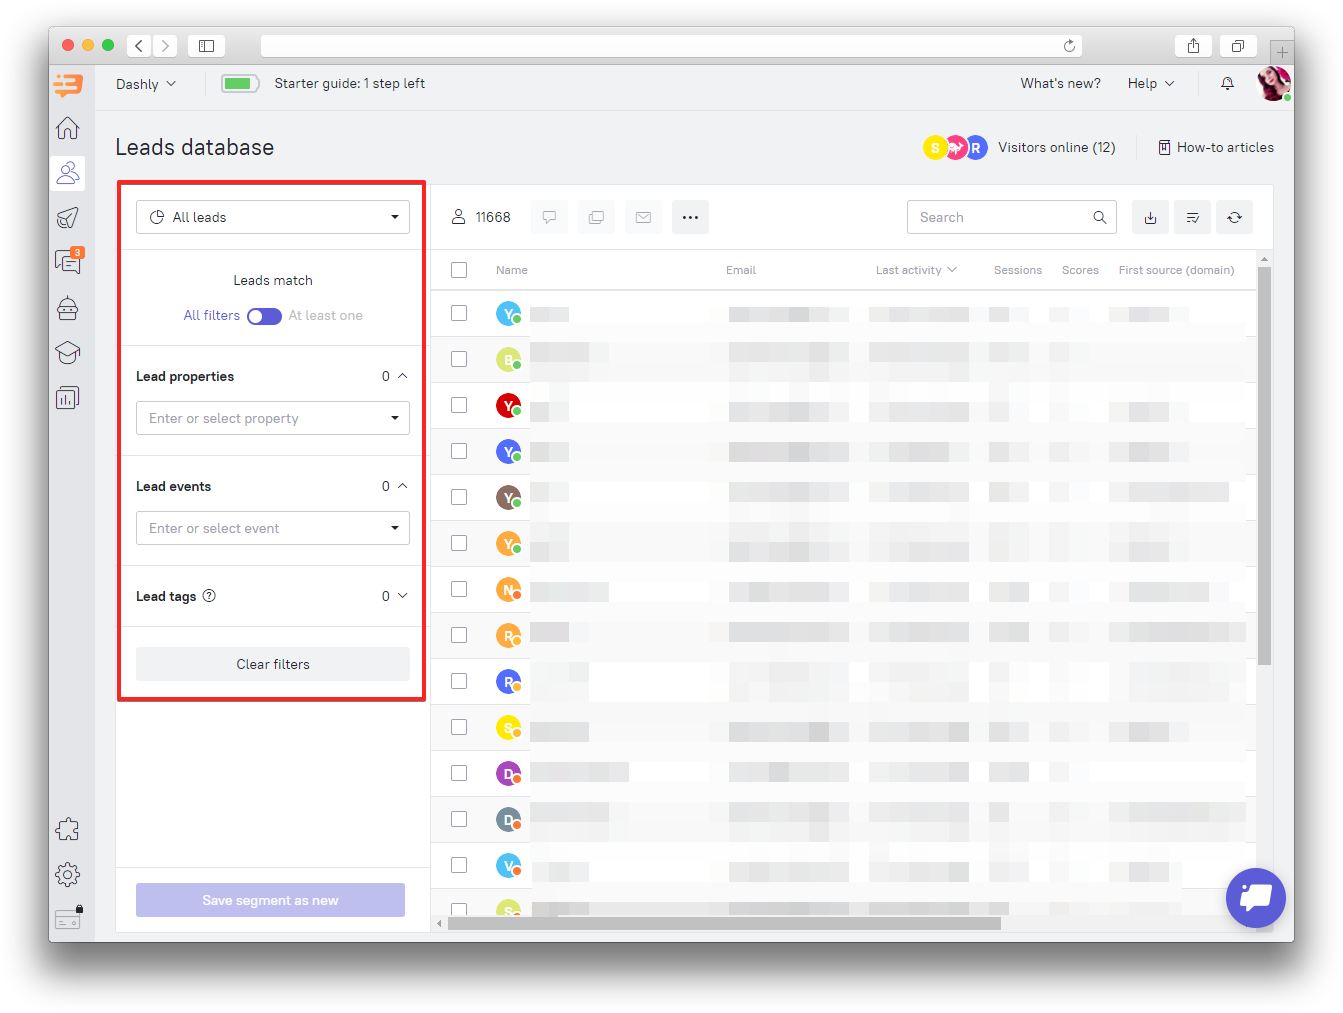
Saved segments
There are several default segments in Dashly: "Has a name", "Has an email", etc. Clicking on these segments will allow you to see a list of leads matching the filters in this segment.
Show leads by filters
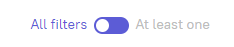
All - corresponds to the logical AND,
Any - corresponds to the logical OR.
Lead properties
All leads have properties. Properties are divided by groups: “Basic properties”, “UTM parameters”, “Geography”, “CRM”, “E-commerce”, “User properties”.
You can configure lead filtering by data type depending on what data was recorded as the property value.
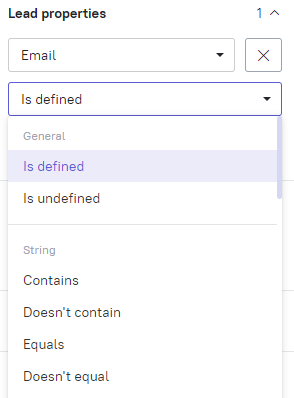
Here are the most common property types:
Is defined – shows leads who have this property recorded (for example: setting “Email” – “Is defined” will show you all leads who have an email in their user card).
Undefined – shows leads who don’t have this property recorded (for example: setting “Email” – “Is undefined” will show all leads who don’t have an email in their user card).
Number – lets you segment leads by properties that have numerical value (“Is more than”, “Is less than”, “More or undefined”, “Less or undefined”, “Equals”, “Not equals”, “In the range”).
String – text data is recorded as a string (“Contains”, “Doesn't contain”, “Equals”, “Not equals”. Example: “First domain source” – "Contains" – "test.com" will show all leads who came from test.com. If you want to exclude test.com, set the "Doesn't contain" filter).
Note that when segmenting by the "Contain" and "Doesn't contain" filter types, you must enter from 3 to 15 symbols.
Date - this property type lets you set date filters (“Is more than”, “Is less than”, “More or undefined”, “Less or undefined”).
Example: "Last activity” – “Is more than” – “15 days" means that the lead was online on your website more than 15 days ago.
Logical - has the values of "yes" and "no" and is used for boolean properties with true / false values.
Learn more about properties in this article.
Lead events
You can group by lead events (actions on your website) as well.
You can filter events based on the following parameters:
Number of events - shows the number of times the event was recorded. If you’d like to find leads who have or haven't had a certain event recorded in their user cards, you can set the “Is defined” or ”Is undefined” filter type respectively.
Date of the first event - “Is defined”, ”Is undefined” and "Date" filter types are used (more than N days ago, less than N days ago, more or undefined, less or undefined).
Date of the last event - “Is defined”, ”Is undefined” and "Date" filter types are used (more than N days ago, less than N days ago, more or undefined, less or undefined).

Learn more about events here.
A segment can be configured each time or saved for quicker filtering if you want to segment users by this filter in the future. If saved, you can use it whenever you need it (for sending triggered messages, for example). To save your segment, click "Save segment as" in the lower part of the segmentation panel:

Lead tags
Tag is a special mark you can add to a lead or a group of leads. Once you’ve added a tag, you can easily find it and segment leads with this tag in the future.
Tags are not the same thing as properties. Tags do not change dynamically and have to be set manually. You can include and exclude tags during segmentation. Read more about segmentation by tags in this article.
How to add a lead tag?
• from a lead card:

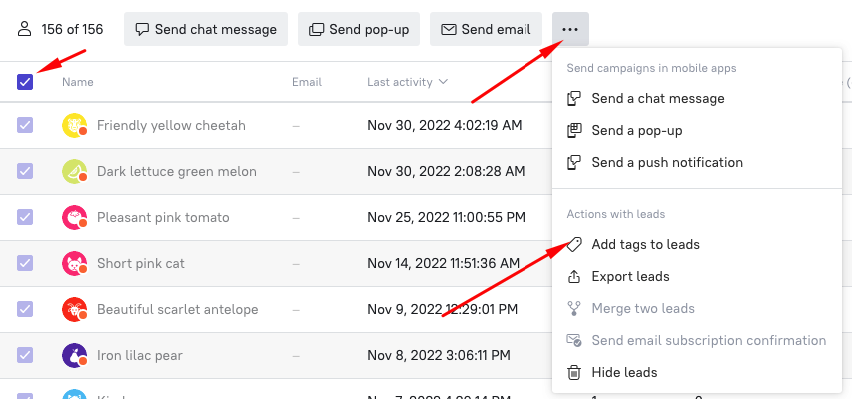
• by selecting a lead group:
In the Lead Database section, tick all the users you want to add a tag to and click "Add tags to leads". Select a tag from existing ones or add a new one and Save:
• in the manual campaign report:
Go to the manual campaign report section and open statistics on leads who performed the action you are interested in. In the upper right corner there is a button that will assign a tag to all users in this list.
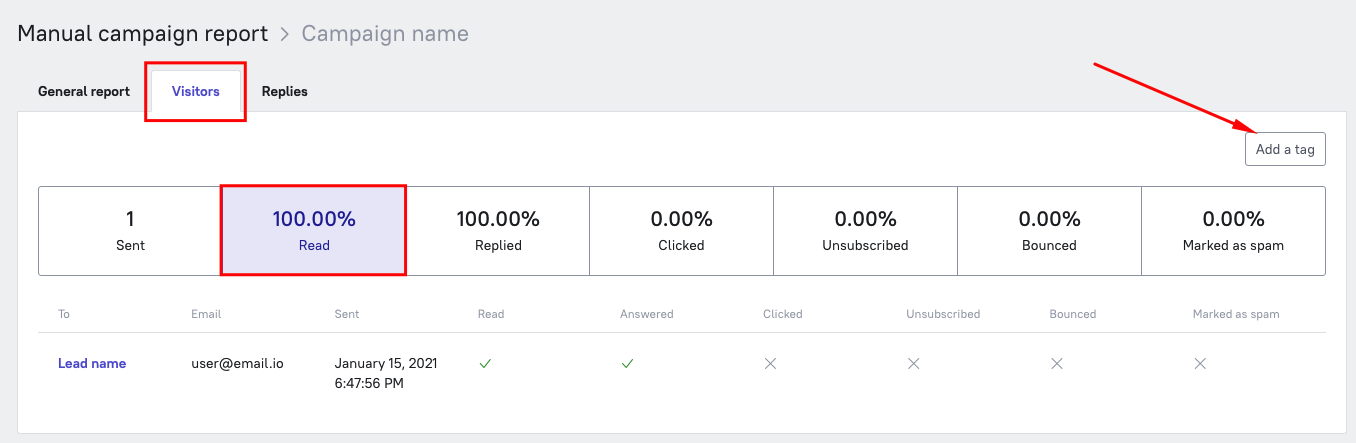
You can use this method if you need to send the campaign again to the same segment of leads, excluding the ones who've read the message.
❗Please note: after adding the tag, wait for about 40 seconds for the database to update.
You can add a tag to no more than 20 000 users at once.
Deleting tags
You can delete tags. You can either delete the tag in the lead card or delete the tag for everyone at once. To do so, you need to go to the Lead Database section and click on the cross next to the tag. In this case, the tag will be hidden from the tag list and removed from all user cards.
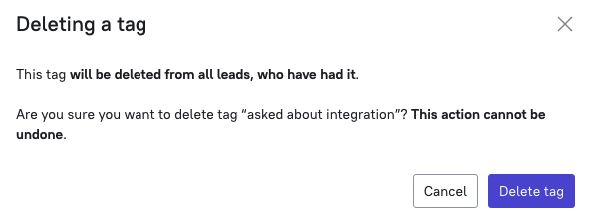 ❗Please note that tags can be used in the message settings. The message that has a deleted tag cannot be sent: as there's no such tag, there are no leads that satisfy the condition. if you delete a tag, exclude it from the conditions for sending a triggered message.
Is defined/Is undefined filter type
You can select "Is defined" or "Is undefined" type to segment leads.
Is defined means that one has completed the selected event at least once or has the selected property in their user card.
Is undefined means that one has never completed the selected event or doesn't have the selected property in their user card.
Segmentation examples
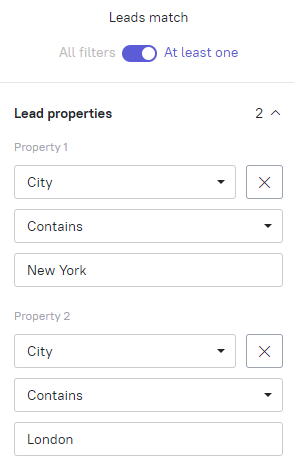
1) Let’s say you have a special offer for leads from New York. Let's set up segmentation and tell all leads from NY about this offer.
Select “City” (a lead property in the “Geography” property group) equal to “New York”.
You can select leads from more cities and countries as well. To do it, click "+ One more property" and add another “City” property. Don’t forget to switch “Leads satisfy” to “At least one”.
If you need these leads only once, you can select all of them and just send the message. You can also save this segment to use at the "Audience" step while setting up a triggered message.
2) Abandoned shopping carts can be a real problem for online stores. To find all leads who added items to their shopping carts and left your website, you can create a segment for them, which you’ll be able to use to send them triggered messages.
You’ll need to search for leads who have visited the shopping cart but never got to the "Made an order" page.
Remember that in some instances you can configure one segment in different ways and get the same result.
3) Let's select all leads who have a name and an email, and who haven't been online for more than 7 days. You can send them a reminder. Select the following property and event combination: “Email” – “Is defined” and “Visited the website” – “More than” – “7 days”.
Ready! Now you can lead them further down the funnel.
Segmentation allows you to set your online marketing in the most flexible way so it will be easy to correspond to the interests of every single lead. You can find more examples in our blog.