
Lead database
In Dashly, a lead is any user who has shared their contact information (such as their name, phone number, or email) or engaged in a conversation with us (for example, by chatting or replying to a message).
A visitor is considered a lead if they meet at least one of these conditions:
- email is defined
- name is defined
- phone is defined
- user id is defined
- at least one conversation initiated
The table displays key details for each lead, such as their name, email, last activity time, and more. You can customize this view by adding any properties you need from the available list. Your currently applied segments will always be displayed at the top:
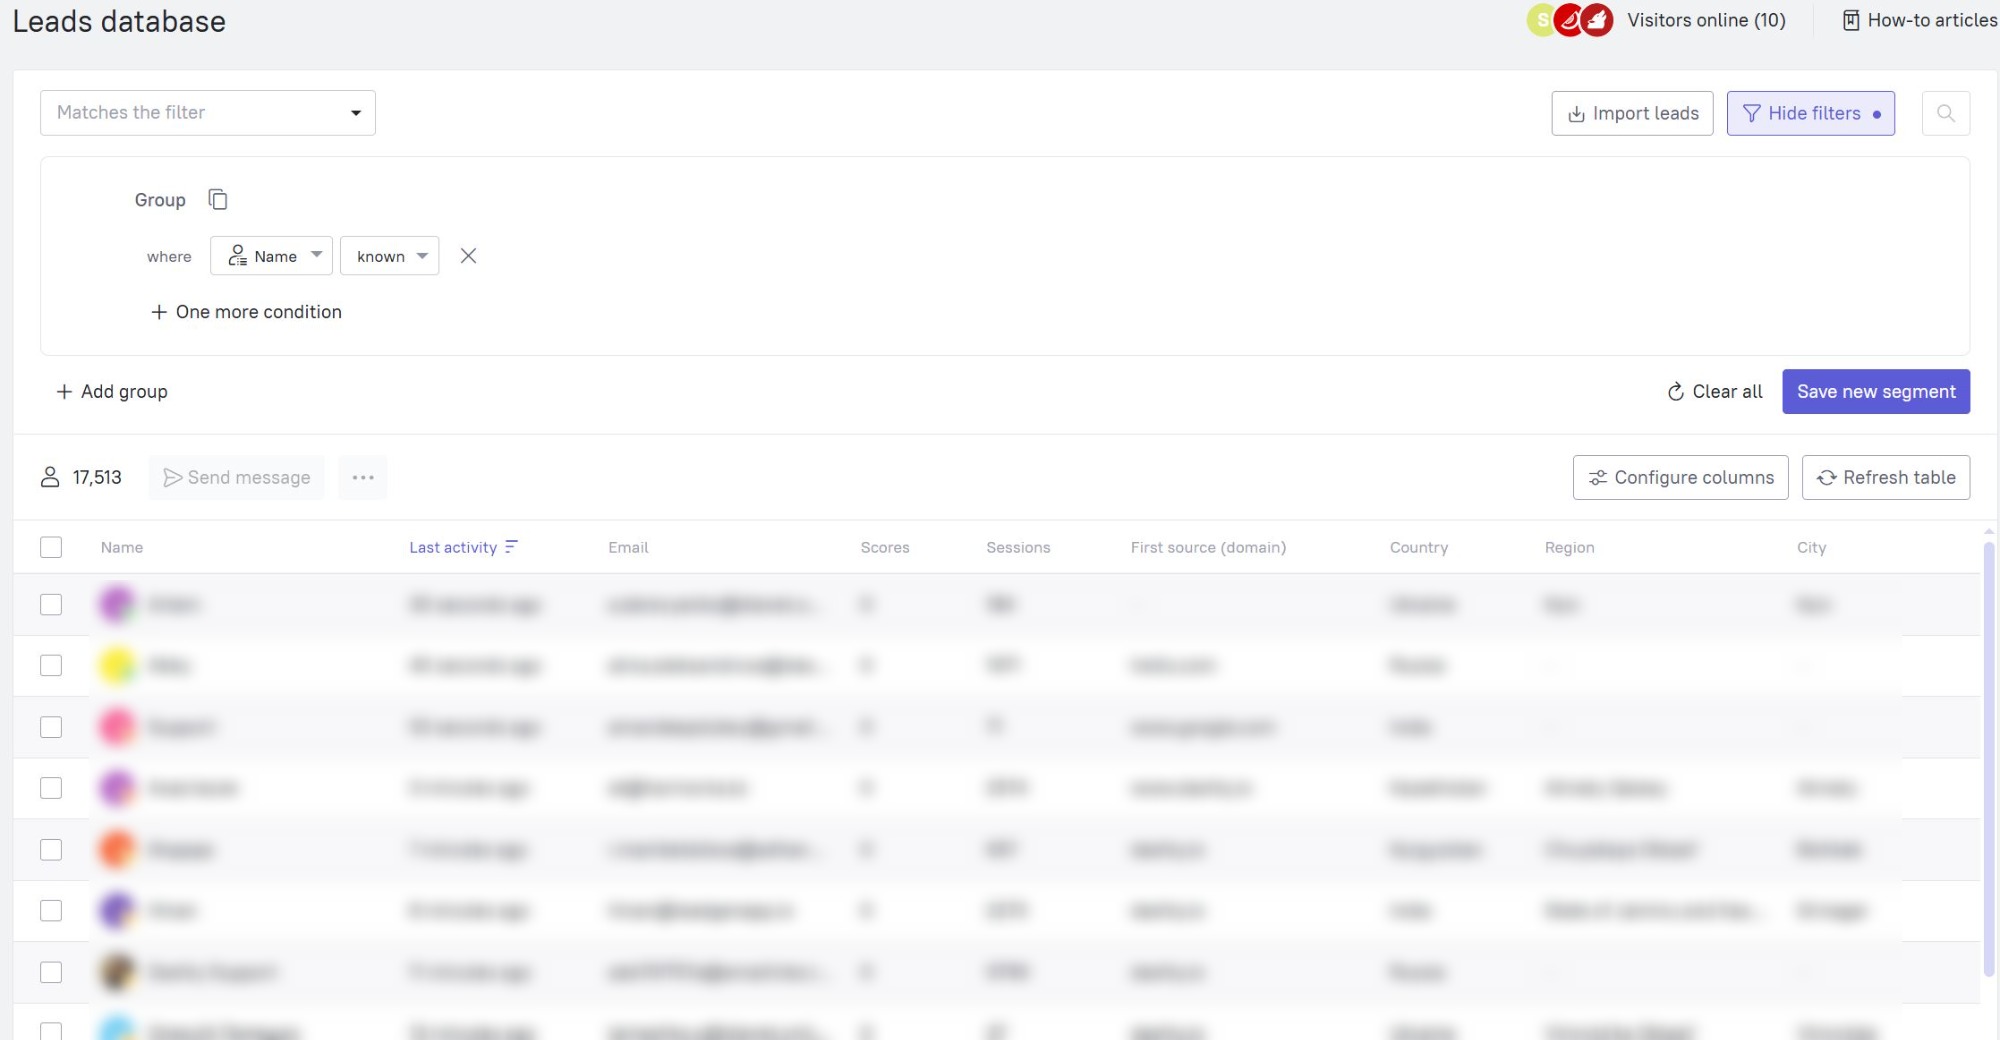
Important: "Last activity" refers to the exact time the lead's profile was most recently updated. This could be a recorded event, a property update, or a message sent to them (meaning the user didn't necessarily trigger the action themselves).
Lead list
If a lead lacks a name or avatar, Dashly assigns them randomly generated ones. In this case, their placeholder name will follow a specific pattern: adjective + color + noun.

If we have the lead's email address, it will be displayed instead of the random name. However, the actual 'Name' field will still be treated as empty.

❗Important: These system-generated names are never used in automated trigger messages, nor are they passed to your CRM during integration (we send the Dashly ID instead). They are also instantly overwritten as soon as the lead provides their real name on your website.
Once a user enters their name on your site, it replaces the system name, and the first letter of their name becomes their new avatar. To help you easily distinguish them, custom user names are visually highlighted in the Lead database and on the user profile to stand out from system names.
Let's break down all the available buttons and actions in the Lead database, starting with the top toolbar:

User segments
In the upper left corner of the Lead database, you'll find a dropdown menu for selecting segments. By default, Dashly comes with several pre-built segments ready to go, such as "Has a name," "Has an email," "Active for 30 days," and so on:
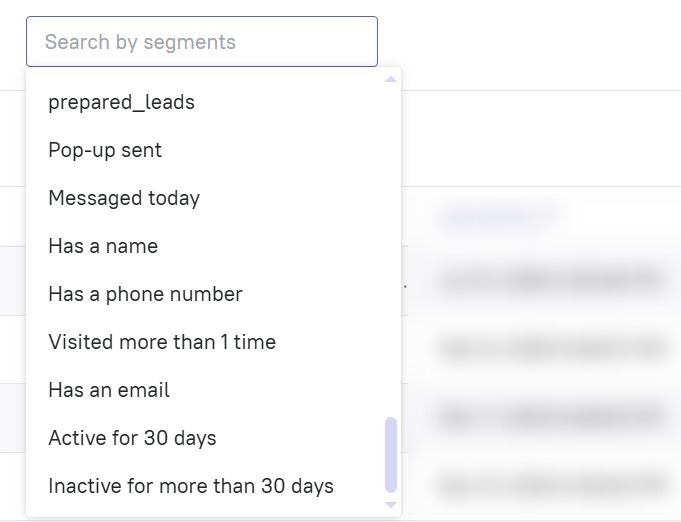
Once you choose a segment, the Lead database will automatically filter to show only the leads that match your chosen criteria.
Show filters
To view a segment's specific rules or to set up custom database filters, click the "Show filters" button located on the right side of the top toolbar:
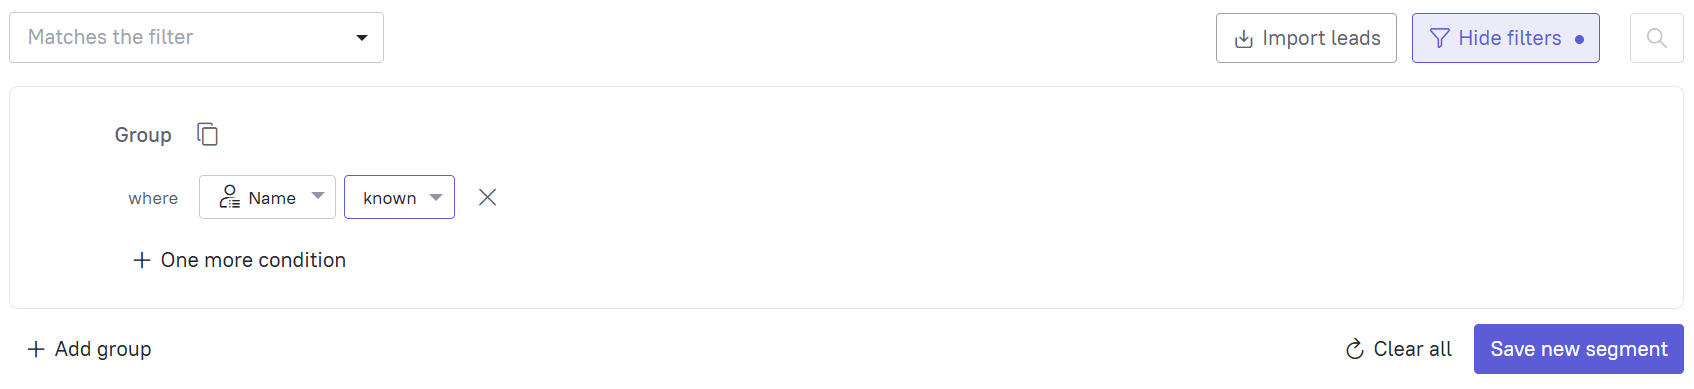
Filters are constructed using groups. A group is a combination of conditions based on specific properties, events, or tags. For an in-depth guide on using filters and segmenting your Lead database, check out our dedicated article.
Importing leads
Clicking the "Import leads" button will take you to a dedicated page. The import tool is incredibly useful for adding new leads to your database in bulk, as well as enriching existing profiles with extra data points. You can read more about this process in our lead import guide.
Searching for leads
If you already know a user's email, phone number, or name, you can quickly locate them using the search bar. Keep in mind that the search field has a 15-character limit (which is usually plenty for contact details). If you need to perform an exact match search, it's better to use property filters.
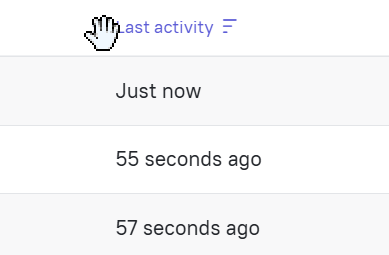
You can easily sort column data in ascending or descending order by clicking the Filter icon right next to the column header:
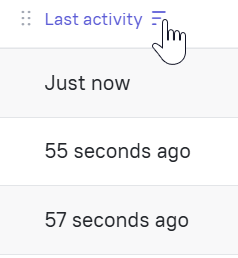
You can also rearrange your columns to suit your workflow - simply click and drag the grid icon to the left of the column header to move it around:
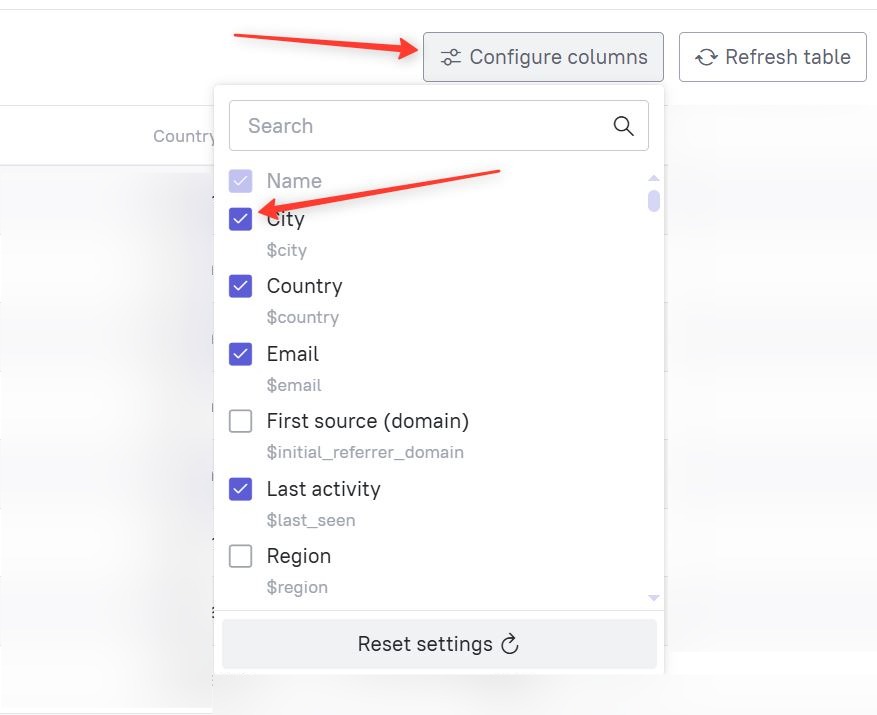
To display different columns in your Lead database, pick the ones you want using the setup button on the right side of the top toolbar:
Bulk actions in the Lead database
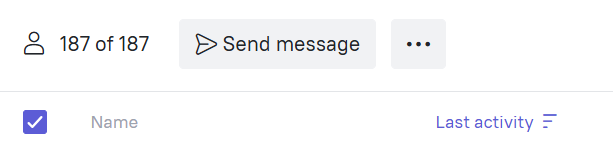
Just above the lead list on the left, you'll find a master checkbox to select profiles, along with a "Send" button for manual broadcasts and a menu (the three-dot icon) for applying bulk actions to your selected segment or the entire database:
Sending a manual campaign
You can launch a manual campaign to a specific segment or your entire audience right from the Lead database. Simply hit the "Send" button. From there, you can choose your preferred message type and dive into the setup.
Learn more about sending manual campaigns.
Other lead actions
Clicking the three-dot icon reveals a handy list of bulk actions available in the Lead database:
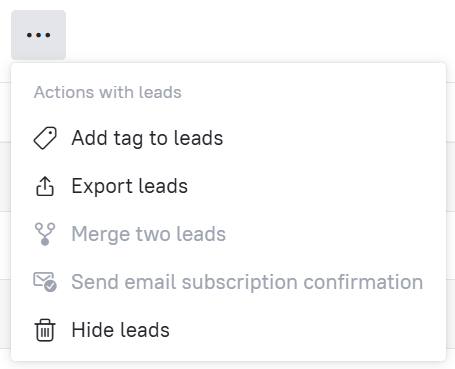
- Add tag to leads: Tags are a great way to visually group certain leads (for example, if you need to quickly exclude a handful of specific customers from a mailing list). Select the relevant profiles, hit "Add tag," choose an existing one or create a new one, and click "Save".
- Export leads: To download a list of users along with all their collected data, use the export feature. Highlight your desired segment and click "Export leads". Dive deeper into this feature in our export guide.
- Merge two leads (available when exactly two leads are selected): If you spot duplicate profiles for the same user, you can seamlessly merge them together, designating one as the primary profile. Find out more about manual merging here
- Send email subscription confirmation (requires Double Opt-In to be active): If your users haven't received their email to confirm a newsletter subscription, you can manually trigger it for them. Read up on how our Double Opt-In feature works.
- Hide leads: If you imported an incorrect list or know you won't be engaging with certain users anymore, you can hide their profiles to keep your database clean. If a hidden user ever returns to your site, sends an email, or triggers any tracked event, their profile, and its entire history, will automatically reappear in the Lead database.
❗ Important: For instructions on how to permanently delete a user profile and all its associated data, check out our article on personal data processing.