
Dialogflow
Integrate Dashly with Dialogflow and then configure the needed chatbot. Let's see how to do it step by step.
Important! A bot will react to all unsorted conversations (those operators are not assigned to), but won't answer to conversations started by triggered messages.
Setting up the integration
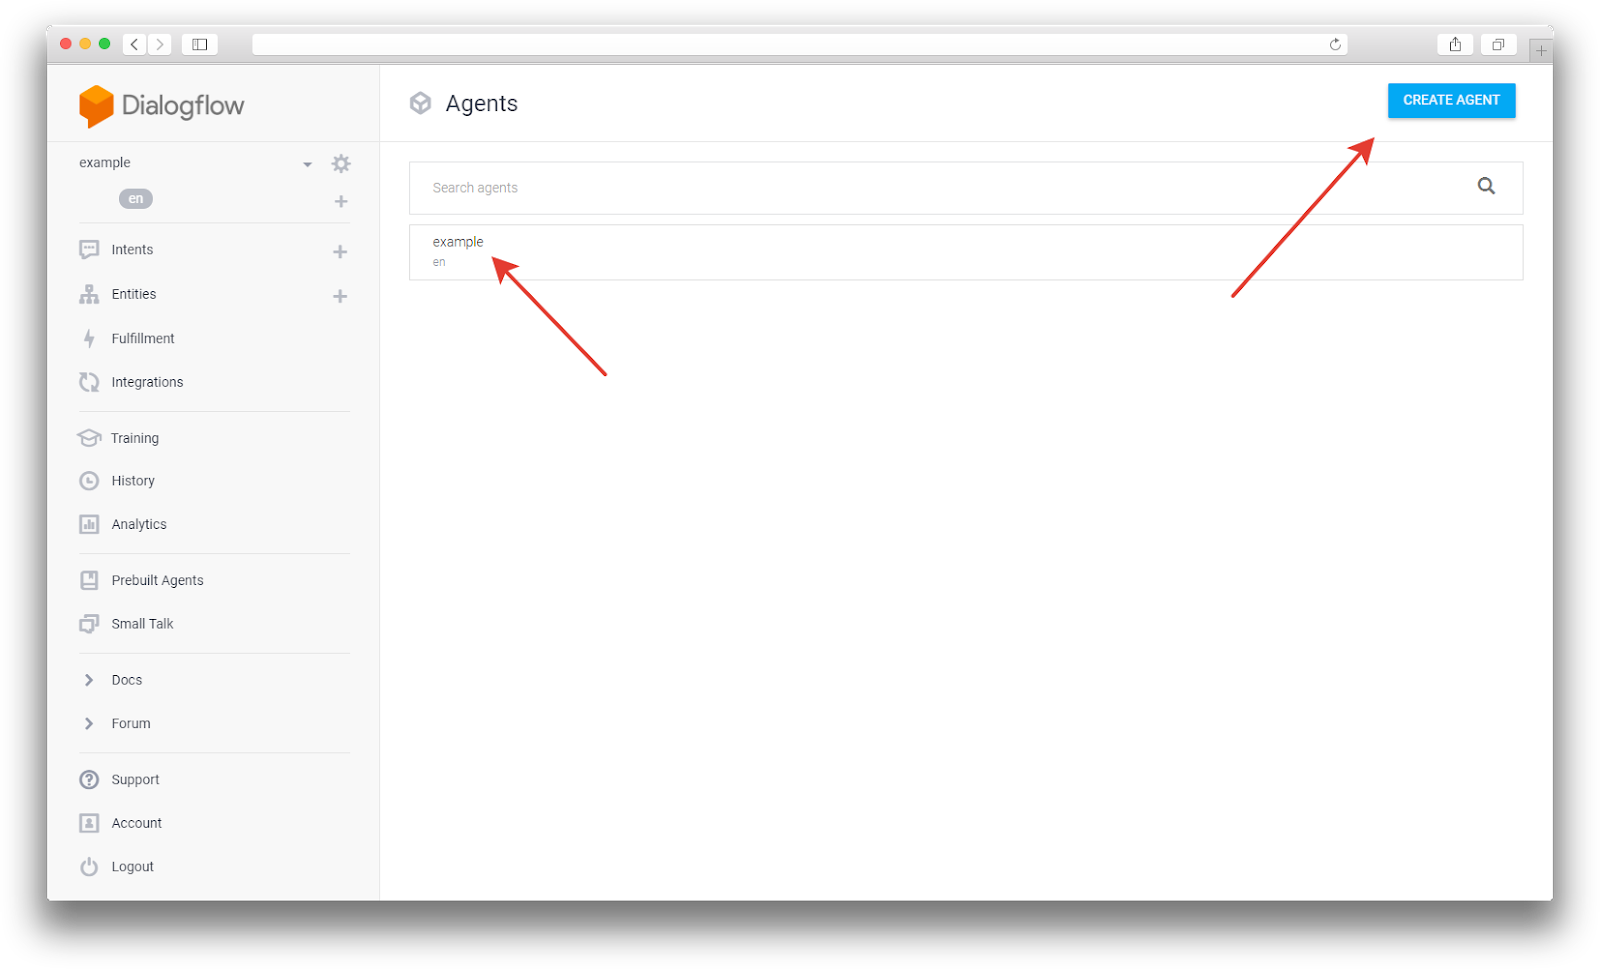
1. Go to the Dialogflow console and create a new agent (or use the existing one if it is reliable).
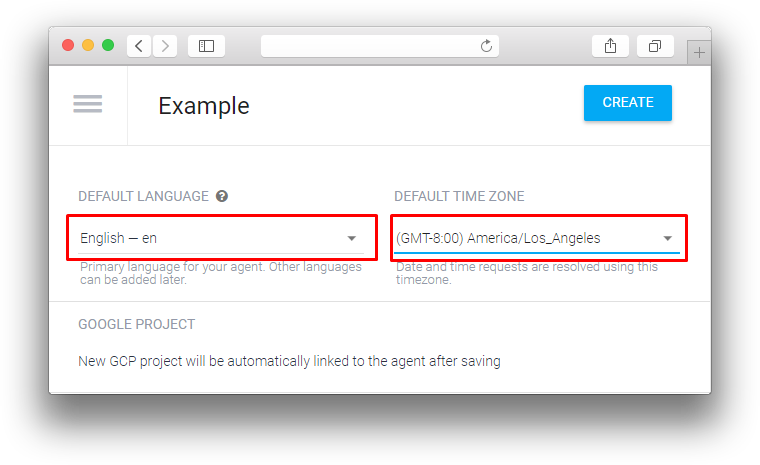
2. Enter the name, language and default time zone. When selecting the language, please note that we will forward the configured chat language in the request.
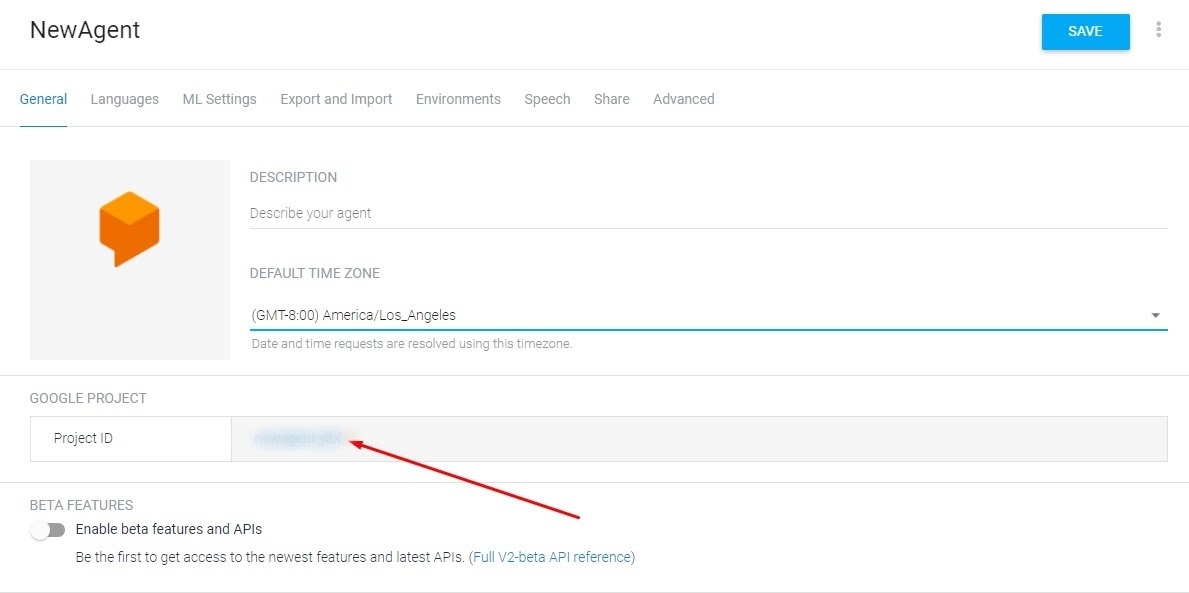
3. Go to Google Cloud Platform by clicking your Project ID:
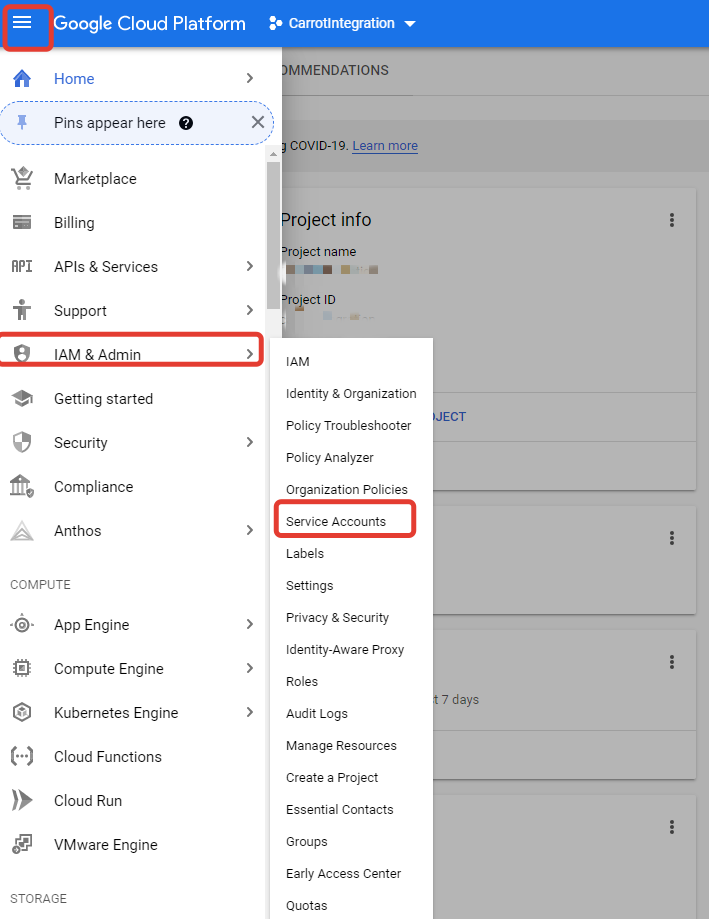
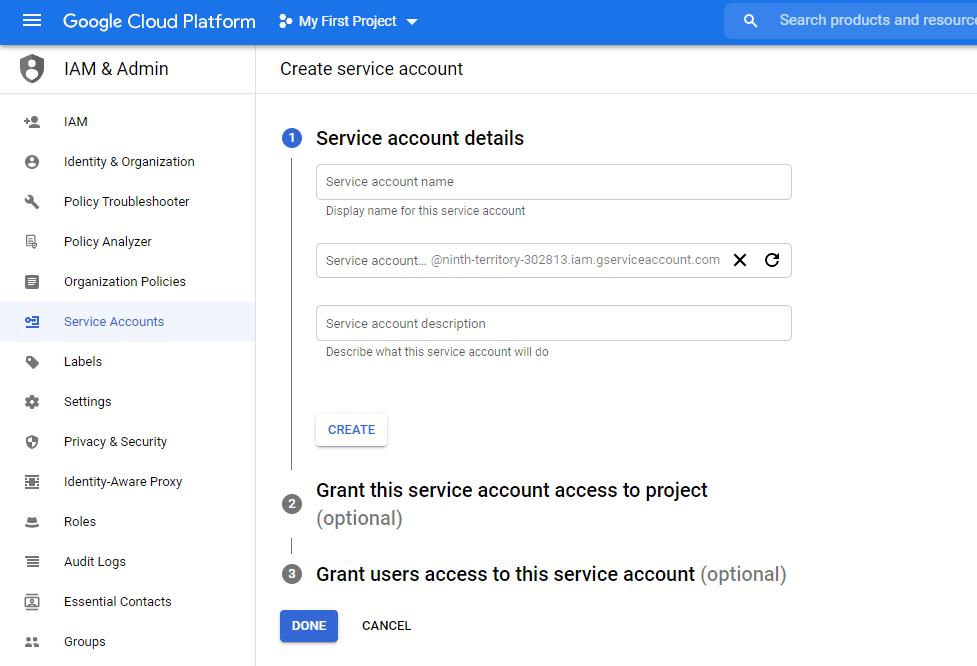
4. In Google Cloud Platform, go the “IAM & Admin” – “Service Accounts” section:
5. Click “+ Create service account”:

6. Enter the service account name and description. On the step 2 of creating your service account, choose the “Dialogflow” – “Dialogflow API Client” role:
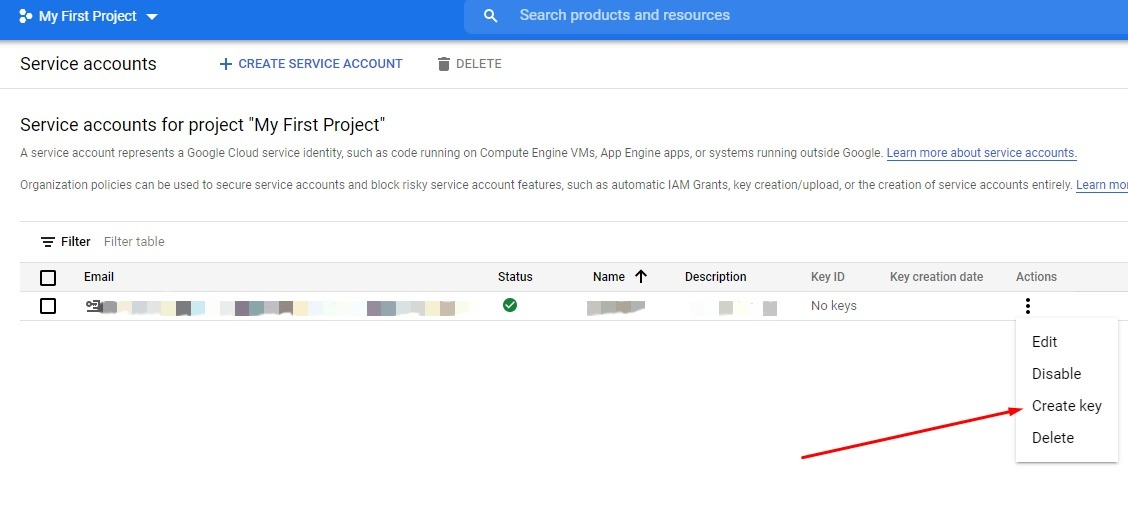
7. After you’ve created your service account, create a key for this service account (when choosing what type of key to create, pick JSON):
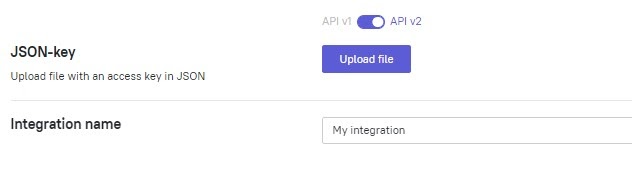
8. Go to the Dialogflow integration settings in Dashly and upload the JSON key you’ve created:
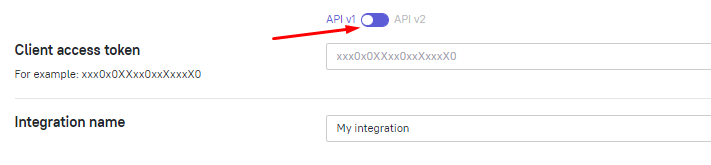
! Please note: All Dialogflow bots created after October 23, 2019 are created on API v2, but if you’re using an older Dialogflow bot with Dashly, you’ll need to switch the API version in the integration setting to v1 and enter the Client access token of your Dialogflow bot:
Bot setting
After you've integrated Dashly and Dialogflow, you can start teaching your bot to answer.
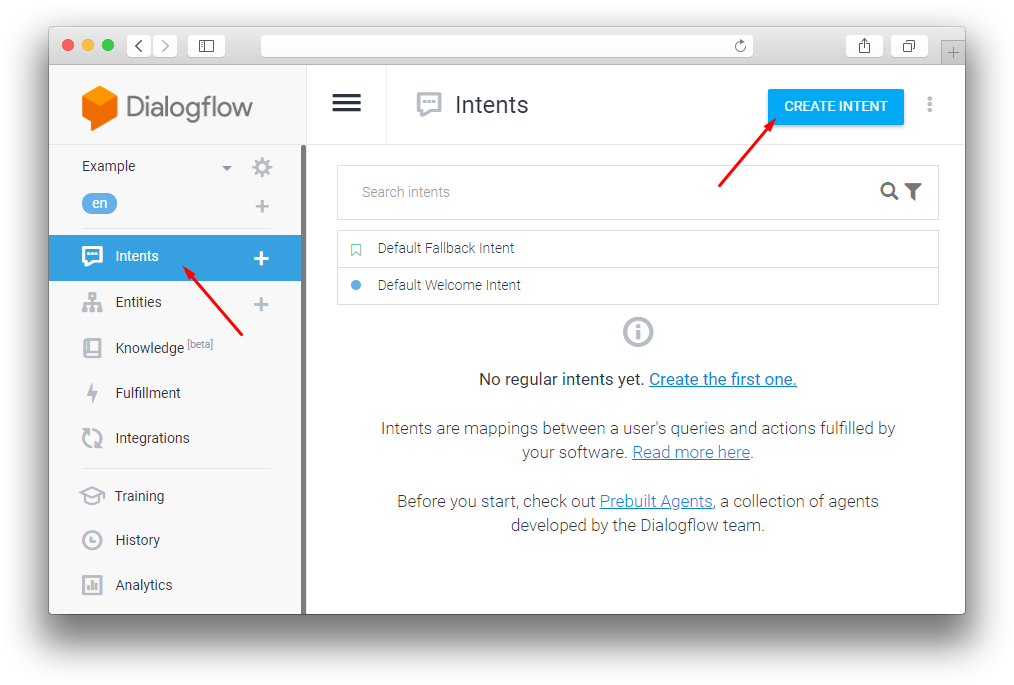
The configuration principle is very simple: you need to write in various possible visitor questions and phrases and what bot should reply to these. Add every bot reply through the Intents section. There are two bot replies by default:
Default Fallback Intent - is used when bot doesn't understand the request (you can disable this set of responses to make your bot reply only to those requests that it understand).
Default Welcome Intent - bot reaction to visitor's greeting.
In order to add your own reply press "Create Intent".
Here you'll need to fill in three parameters:
Intent name - the name (we recommend to use only the Latin alphabet),
Training phrases - various visitor requests,
Responses - bot's reply.

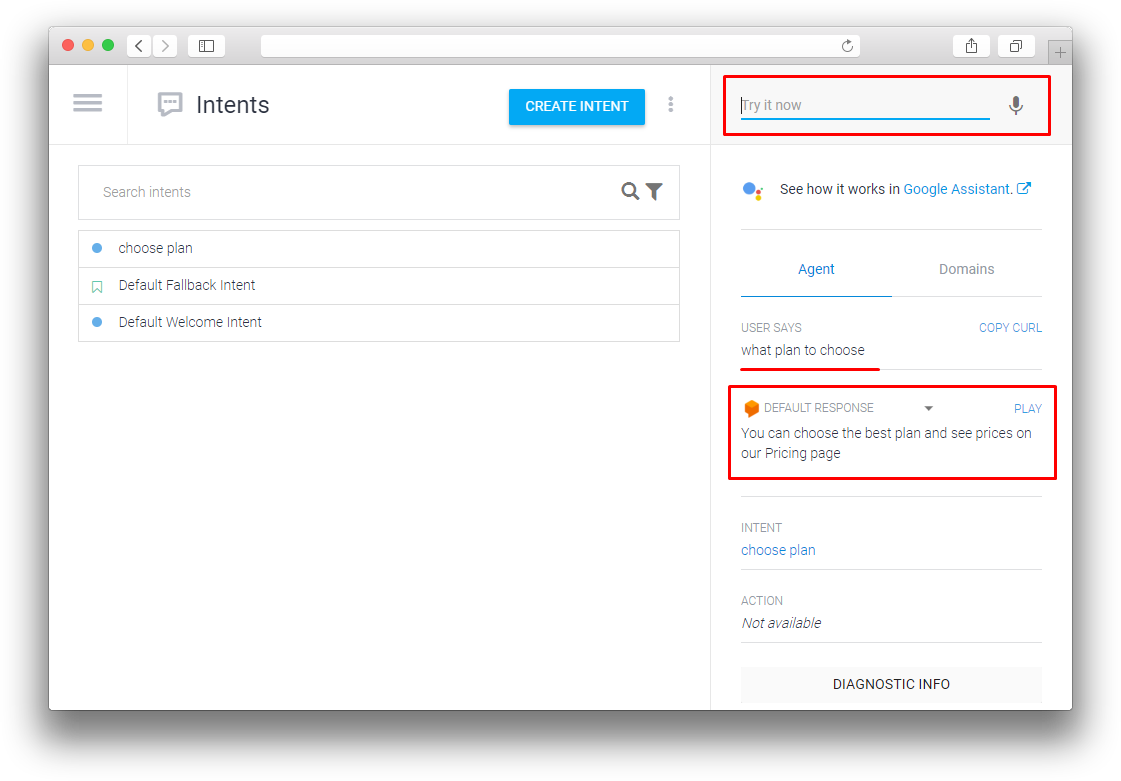
Let's see how it works on the example:
We've added different visitors' requests about plans and pricing. Put various visitor request phrases in the “Training phrases” section. Try not to use single word requests, because that could cause an error in bot's replies. Don't worry if you think that not every possible phrase is written - you'll be able to come back and edit phrases whenever you want.

After that - enter the bot's reply in the Responses section (it can be the same for all visitor requests in this Intent). Then save your Intent.

You can check your bot's reaction right here in the settings. The test panel is located on the right side of your screen. In the field "Try it now" enter any visitor's request and you will see bot's reply below in the "Default Response" field.
Intents examples
We've made some templates for you so it would be easier to start. And one more hint: look at your saved answers for chat operators - this will be the Intents you need to create.
Important! When importing our ready-made templates, don't forget to change the links to your website.
Links on your apps for different devices
How to import Intents
In the Intents section press three dots sign near the "Create Intent" button and choose "Upload Intent".

Press "Choose file" and choose JSON file on your computer.
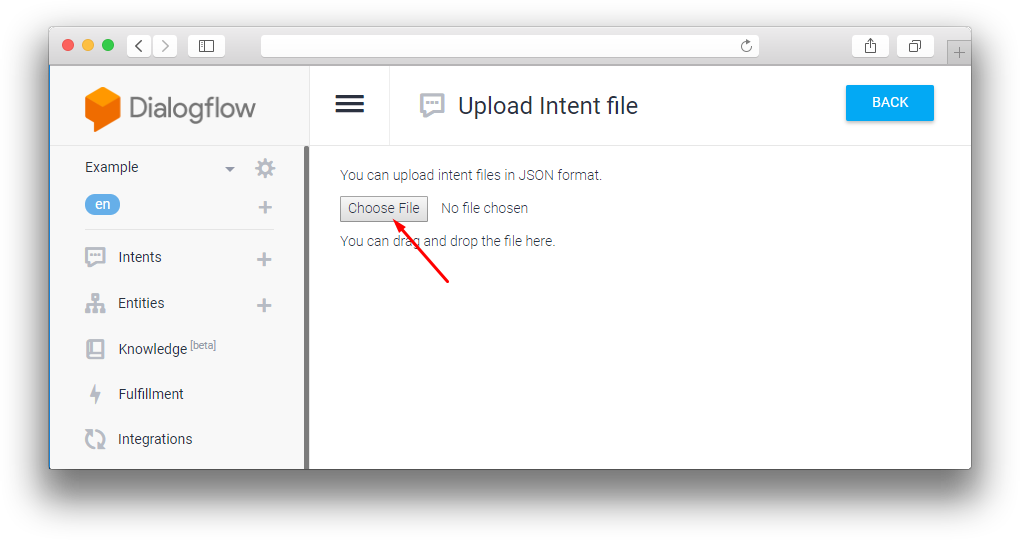
After the successful import, you'll see the notification on the right bottom side of the screen. Now your uploaded Intent is available in the list for testing and editing.