
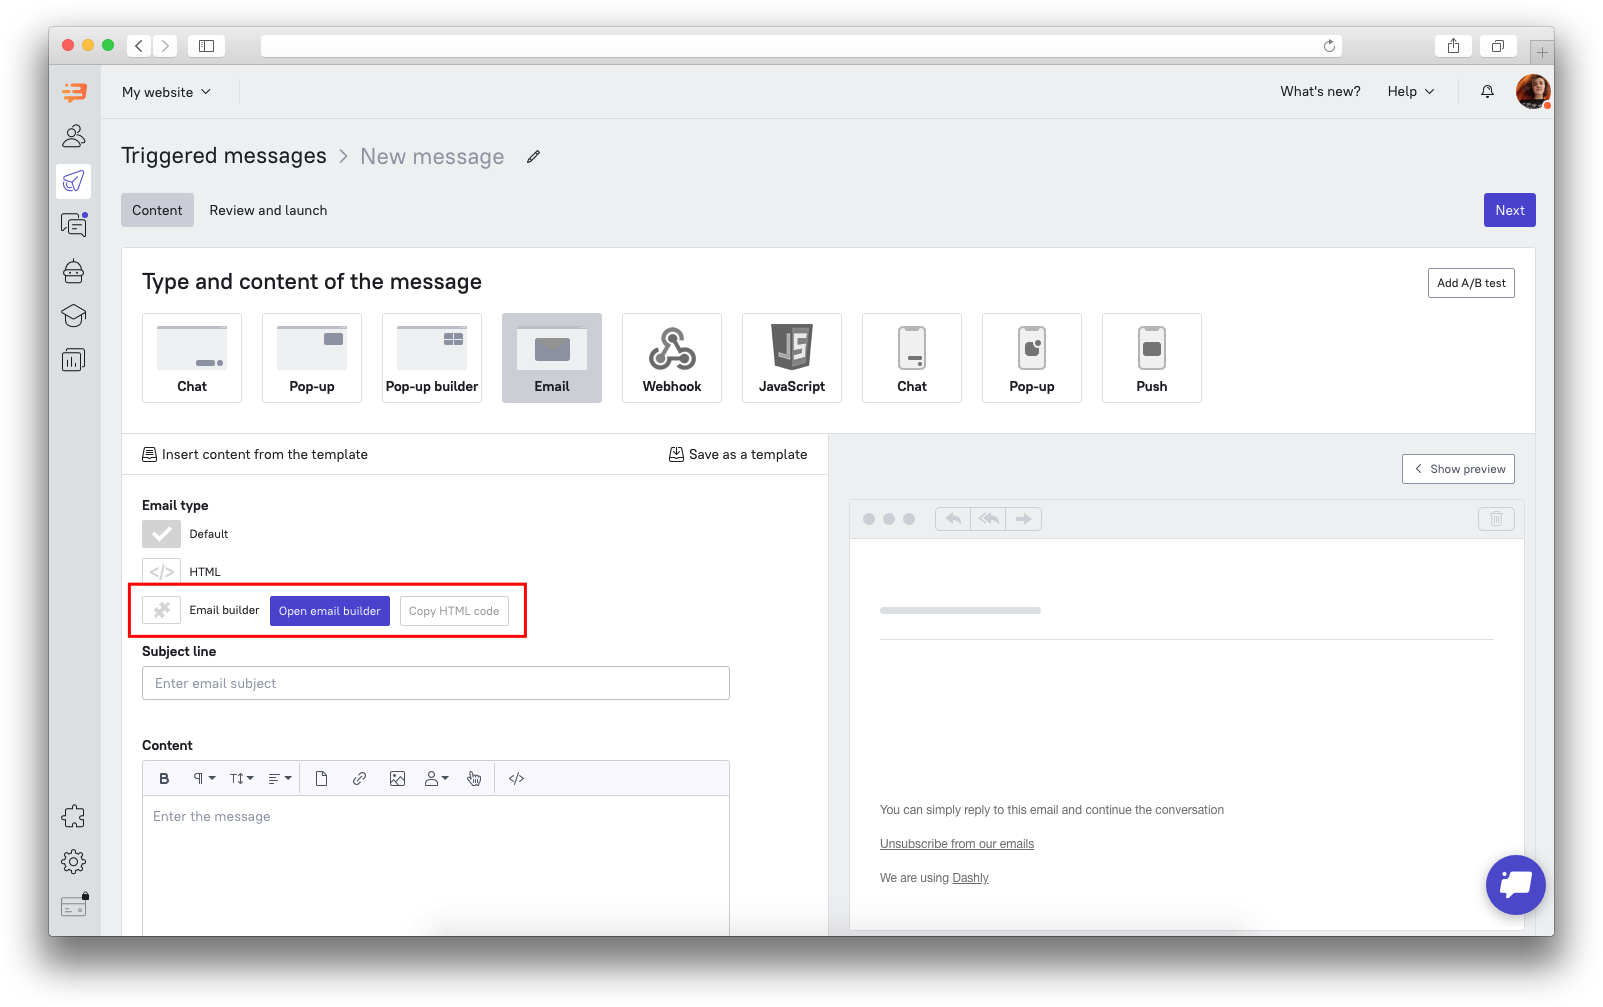
E-mail builder
To use the e-mail builder you need to select the "E-mail builder" option when creating an email template, triggered email message, or sending a manual campaign:
 Important: after creating a content, click on “Save” in the upper right corner, and then, if you are customizing the email in a message or templates, save the changes again in Dashly interface.
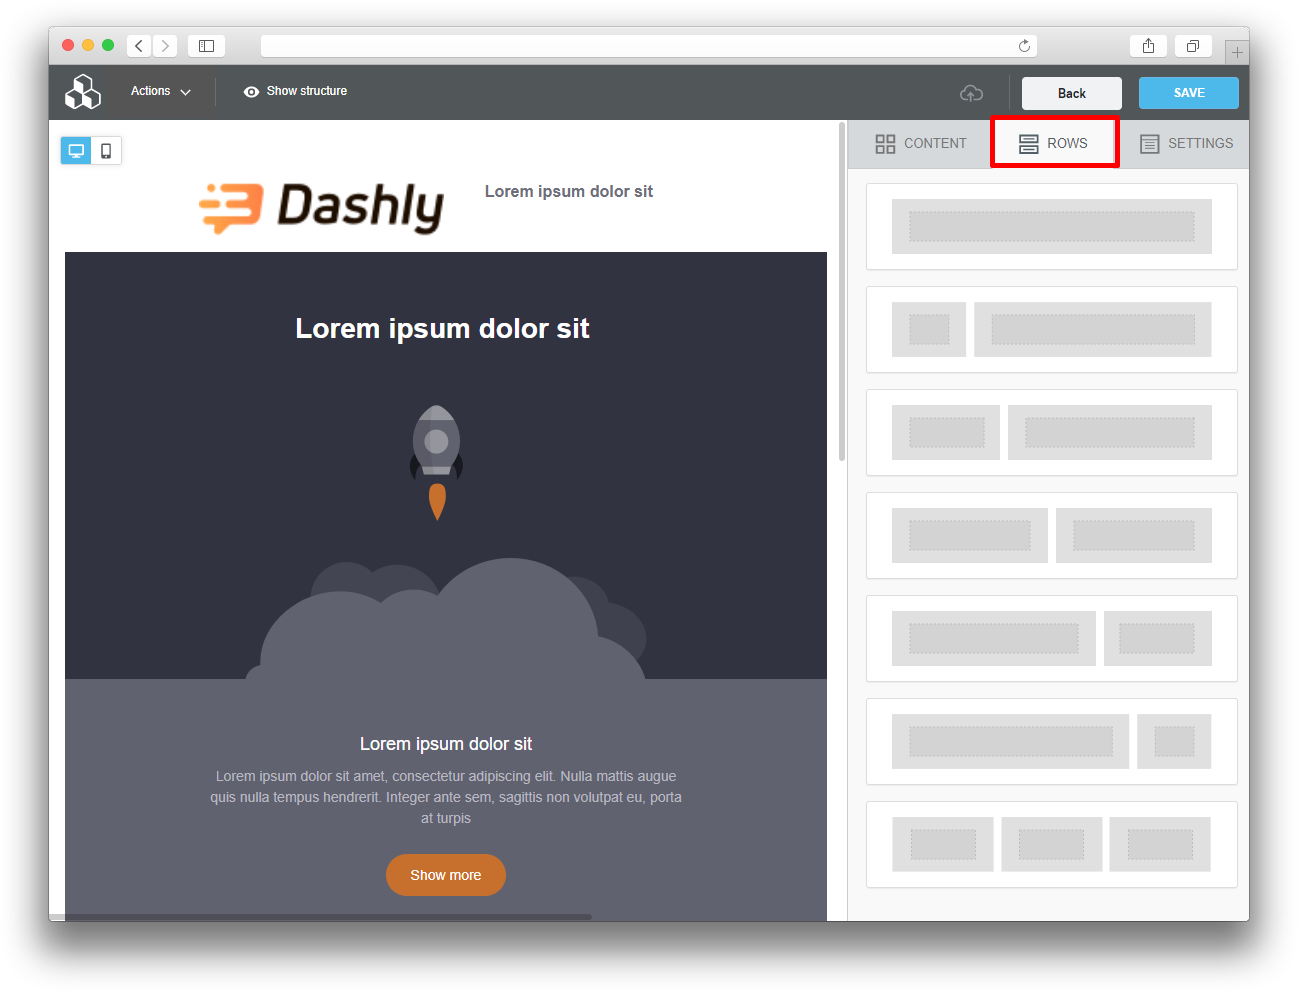
The “Rows” tab contains the necessary blocks for content:
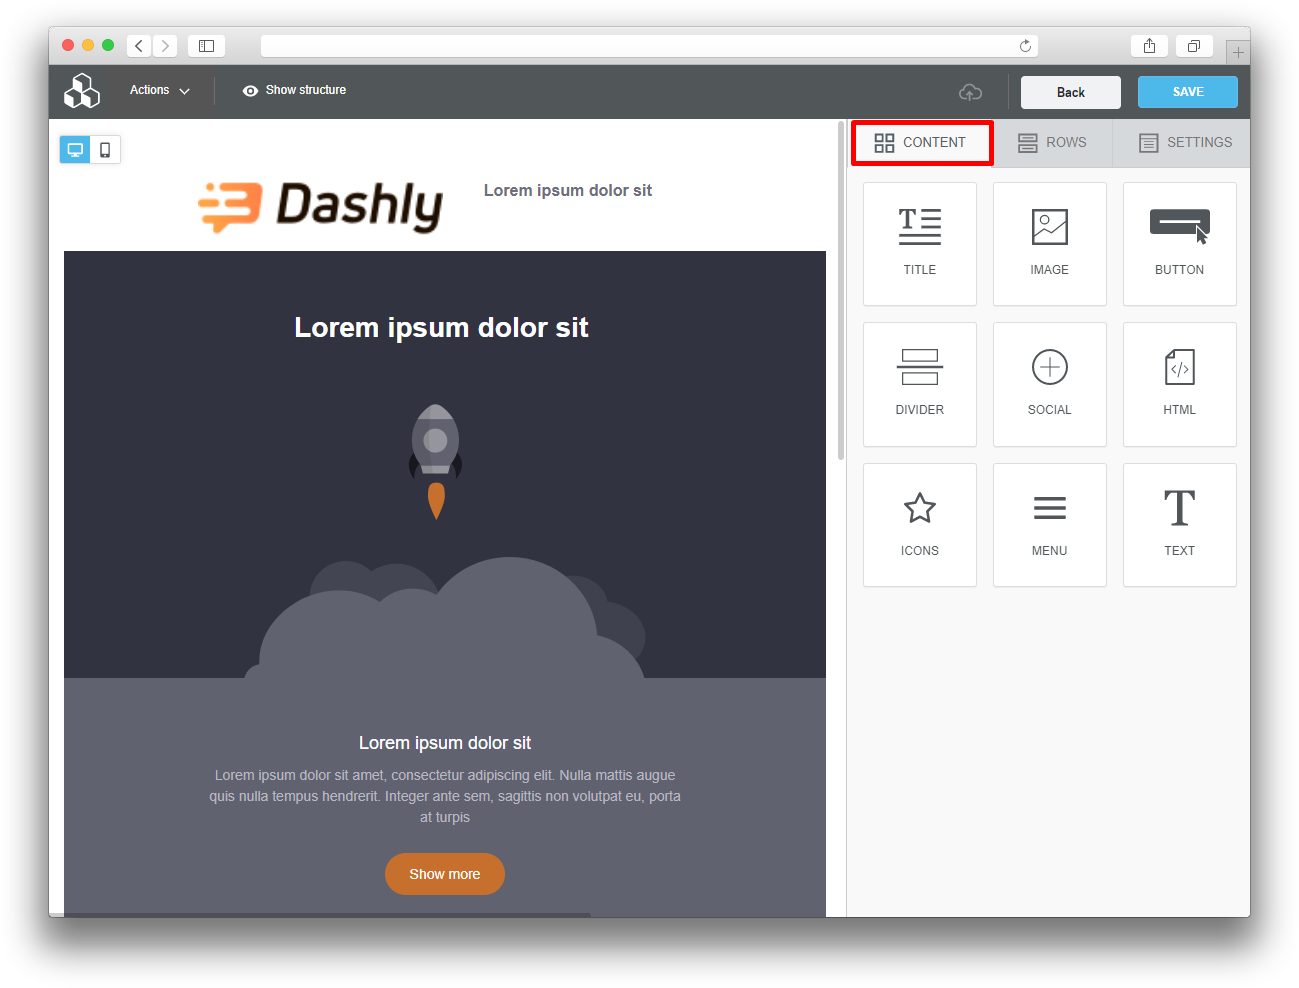
 The “Content” tab contains what you can fill in the lines you have selected:
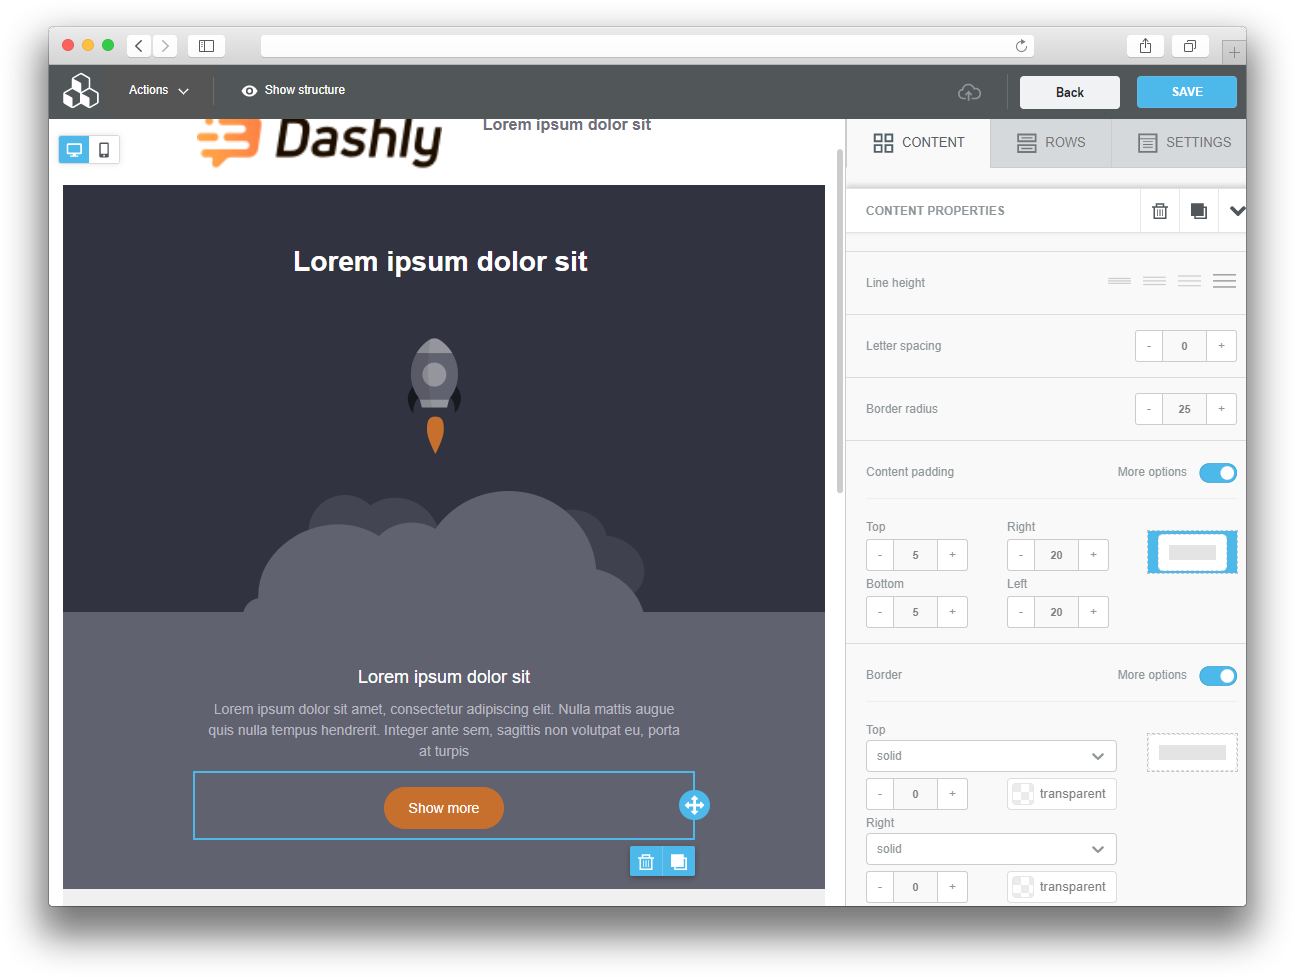
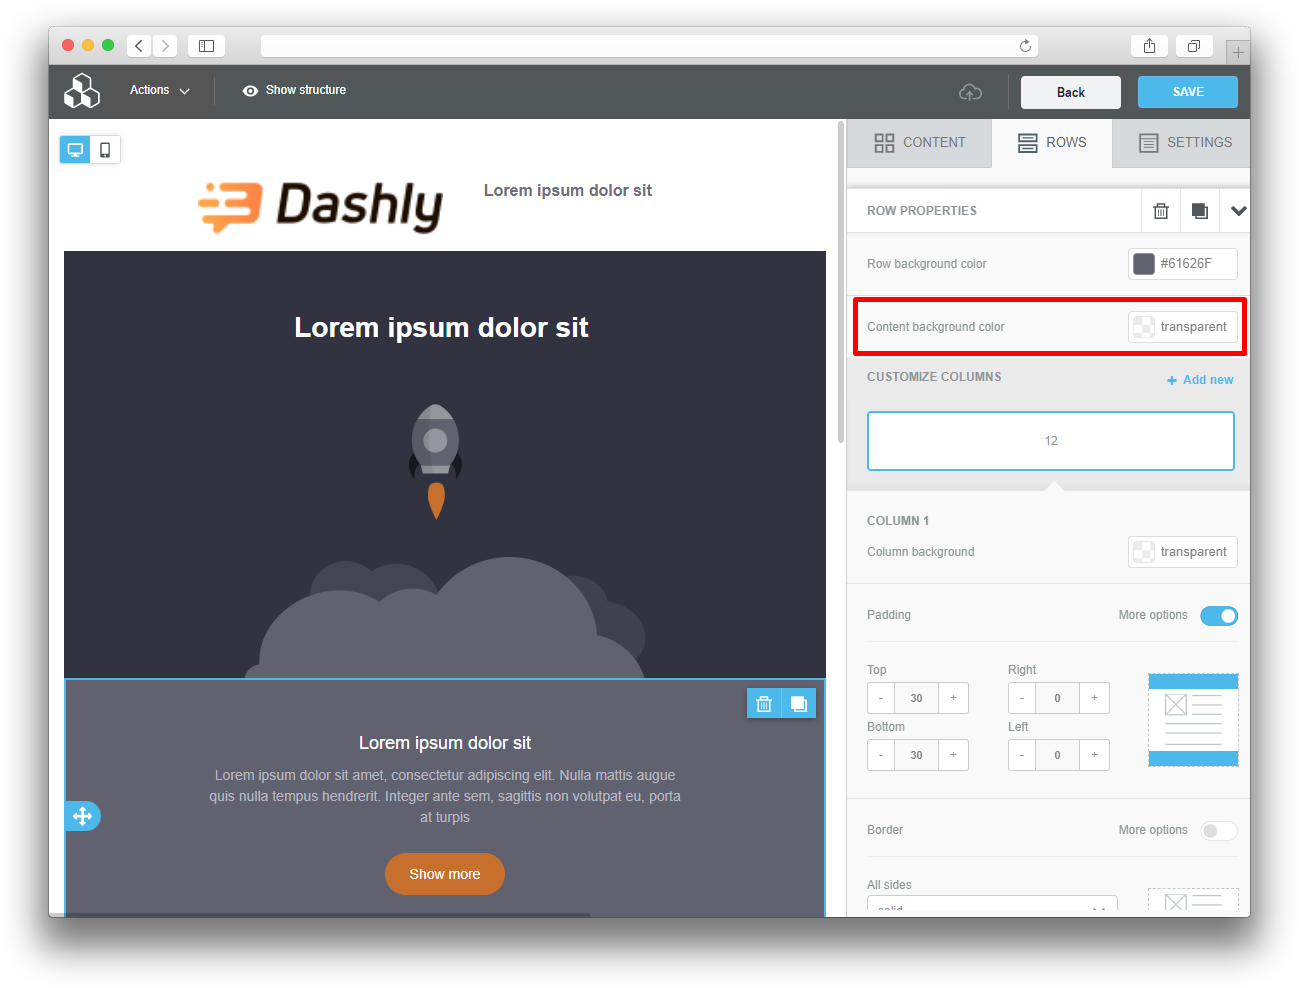
 After adding the content, click on the row where it was added. The panel on the right shows the main properties of the row:
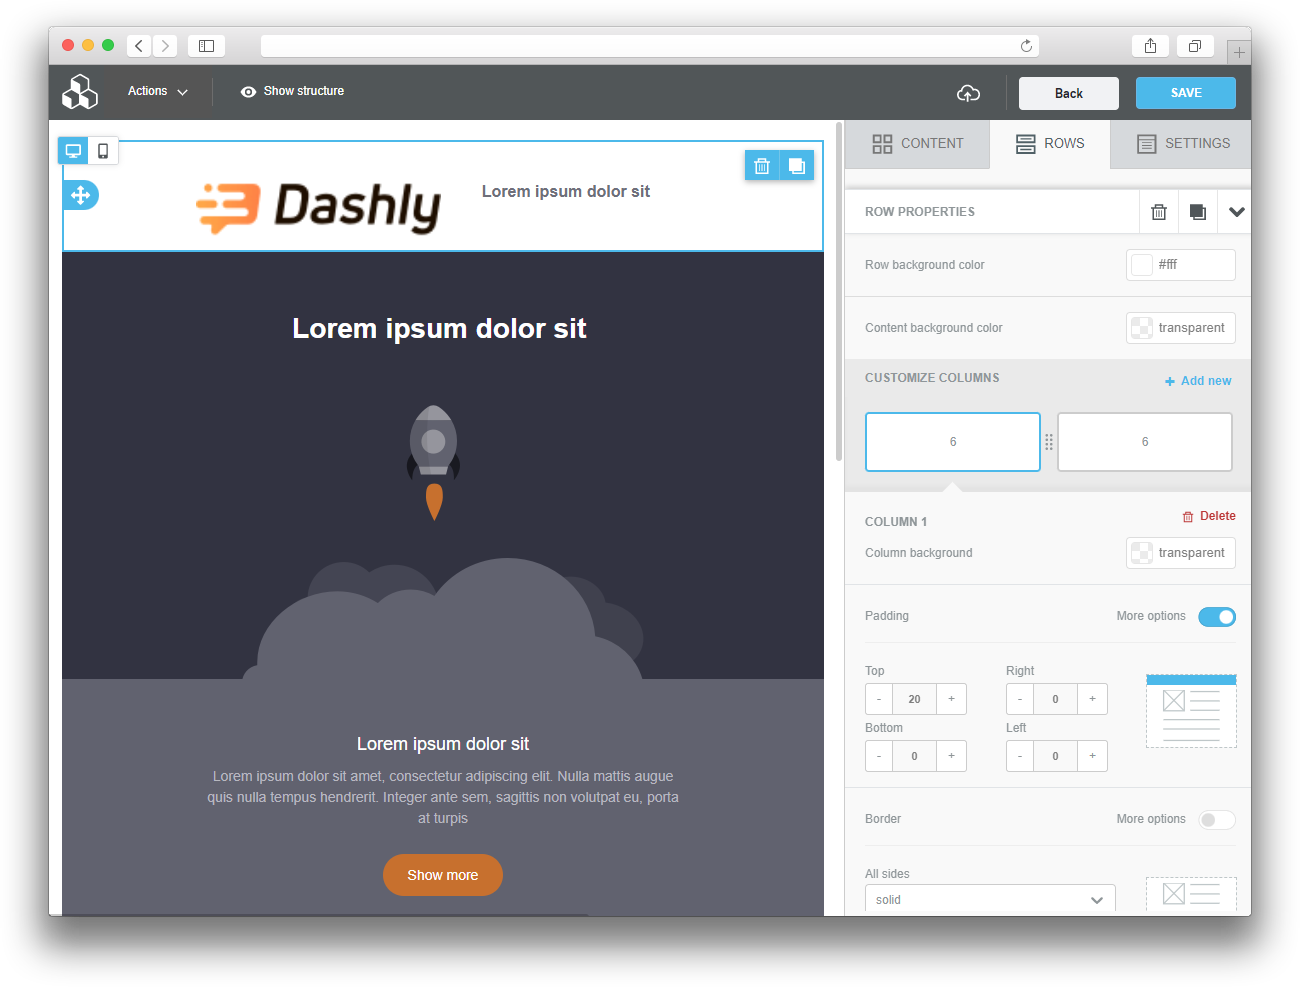
The size of the columns can be changed in the column settings. A new column can be added in the settings as well.
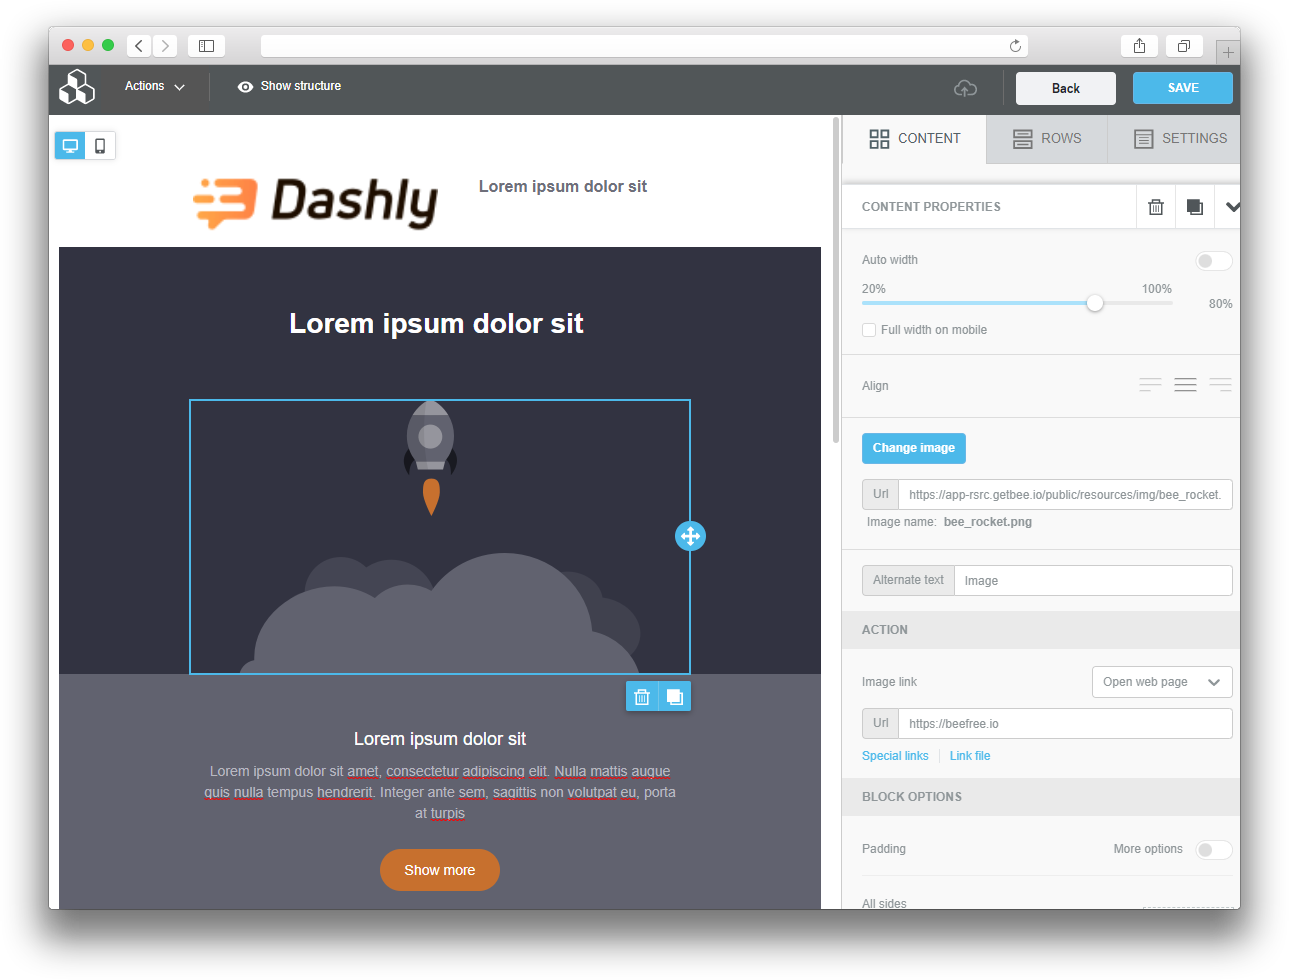
"Image" content
You can set the image width, align, action (what happens when you click). To move to the image settings, click on it in the row. The settings will appear in the menu on the right.
You can add a new image by clicking on "Change Image" or add graphical effects to the current image:
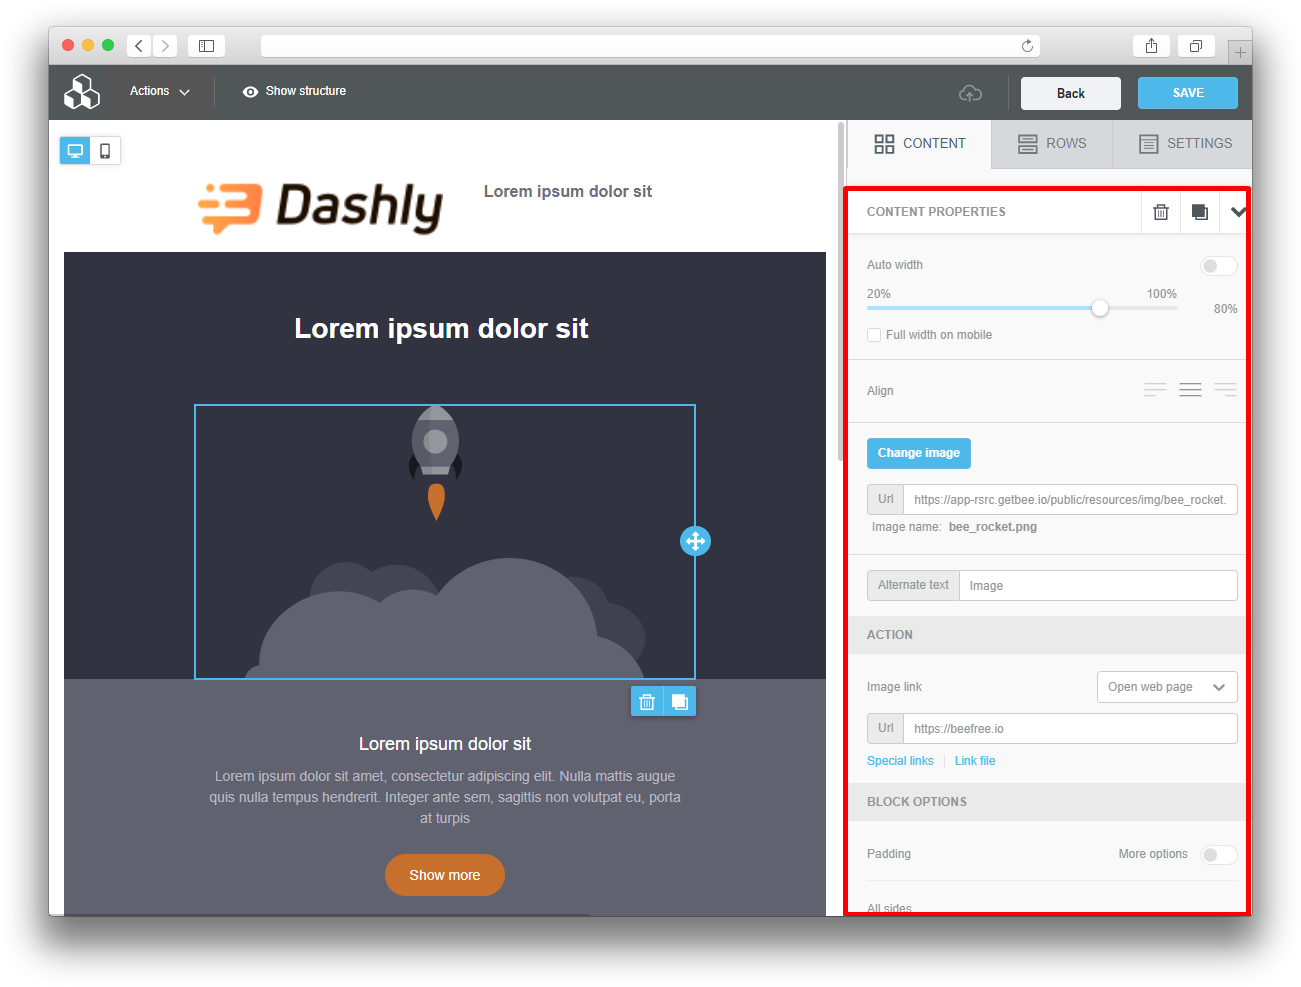
You can also give the image "alt text" in case the image does not display in the browser.
"Button" content
Set the button width, align, action (what happens when clicked), corner rounding, borders (solid, dotted). To go to the button settings, click on it:
"Text" content
Text has a separate control panel that appears when you click on the text itself:
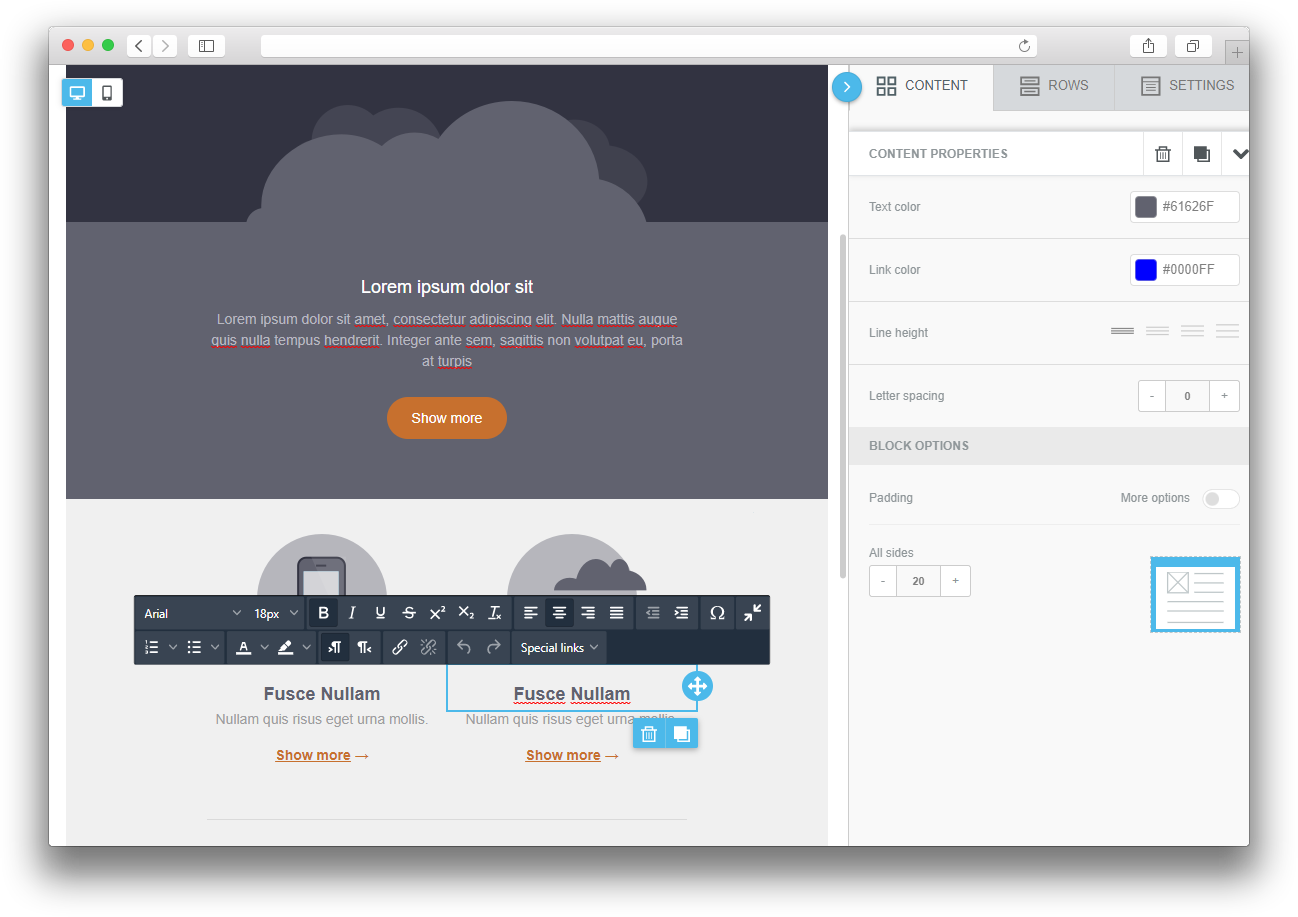
The text can be adjusted font, line spacing, color and color of links.
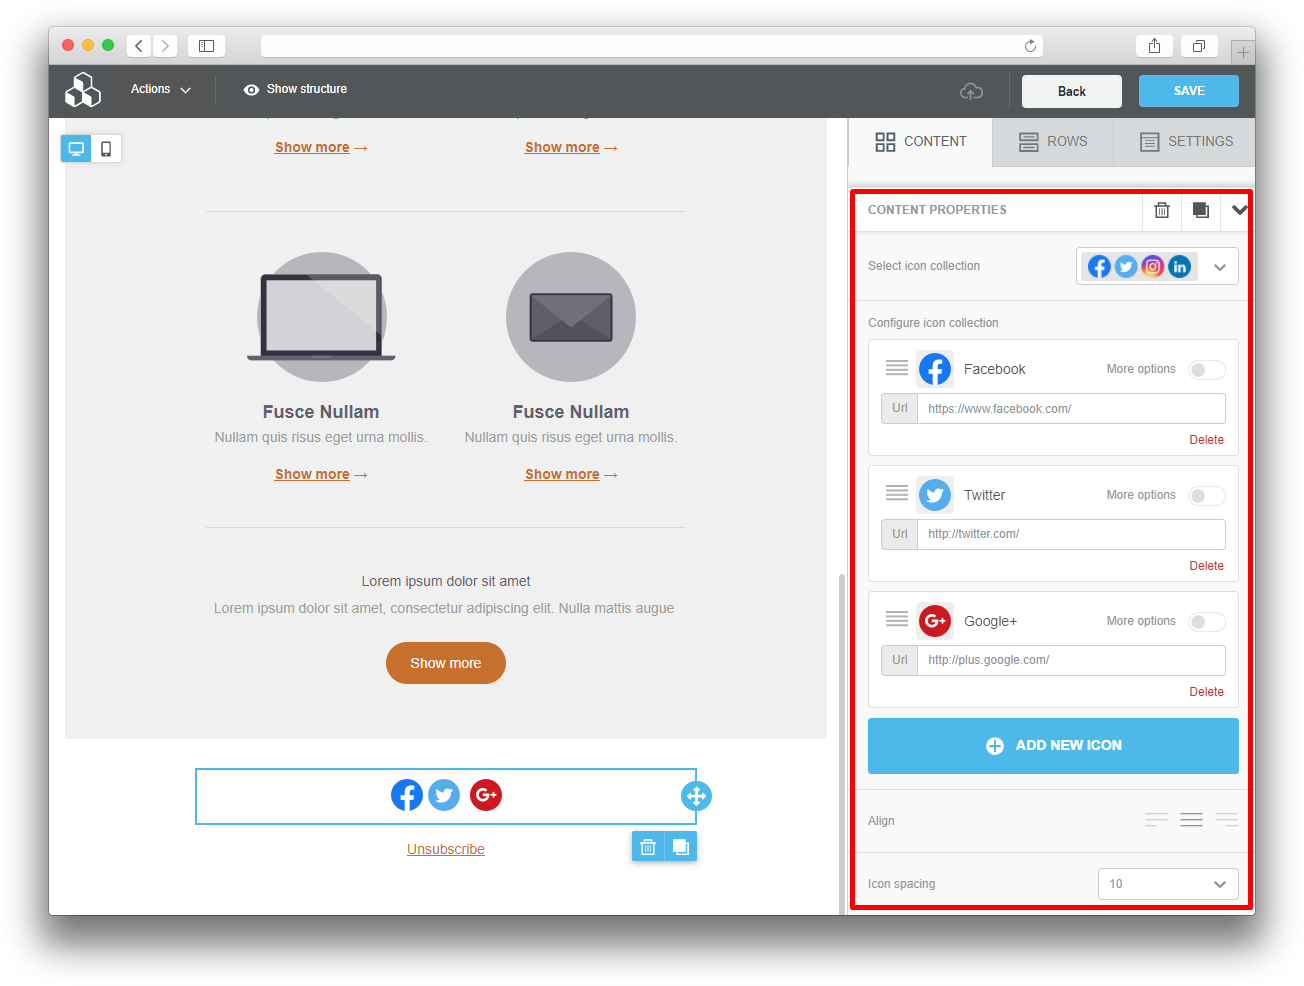
"Icon" content
Select the required number of icons, their design and specify the necessary links:
Block with items in cart
To add a block that will contain information about items viewed or added to the cart, use the HTML block in the Content tab:
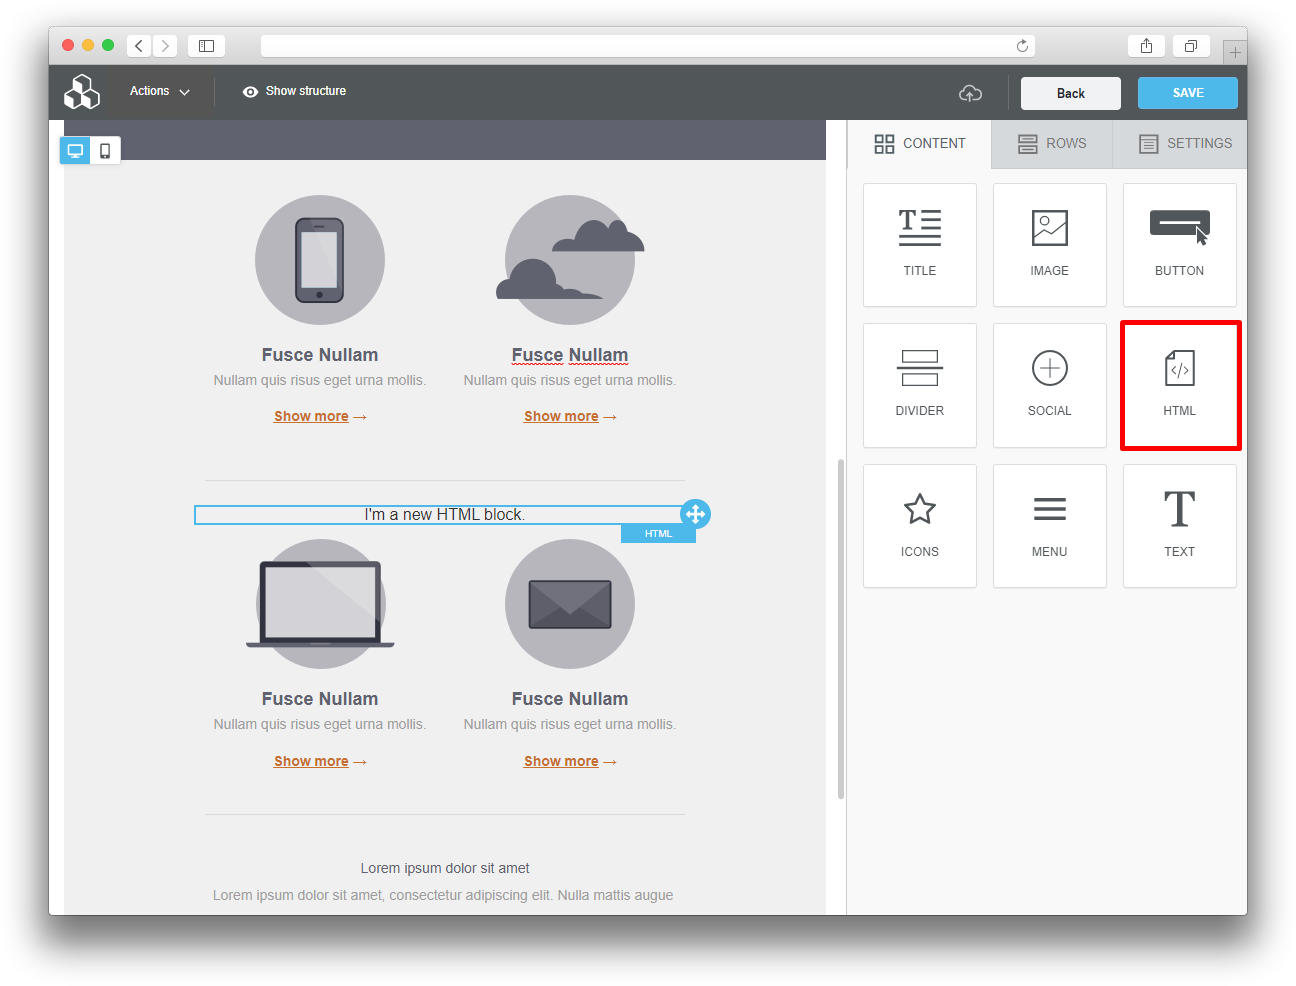
Click on the added block. A field for editing the code will appear on the right, add the code from this article to it.
General recommendations
1. If you need to edit the preheader of the email, add a line to the very top of it and insert an HTML block into it (or just insert an HTML block before the first block of text). Add an insert tag to the block:
<div style="display:none;font-size:0px;color:#333333;line-height:0px;max-height:0px;max-width:0px;opacity:0;overflow:hidden;">Enter preheader text here.</div>
2. The recommended email width is 600px. You can set the width in the "Settings" menu.
3. Use safe fonts. The minimum font size used should be 14 px. If you cannot do it without a decorative font, add it as a picture (in png).
4. Remember to adapt your email for mobile devices. You can enable adaptation for separate blocks.
5. You can adjust the width of images for by clicking on the image and selecting the width setting from the right menu:
6. To test adaptation for a mobile device, click on the “Actions” button in the upper left corner, and then on “preview”:
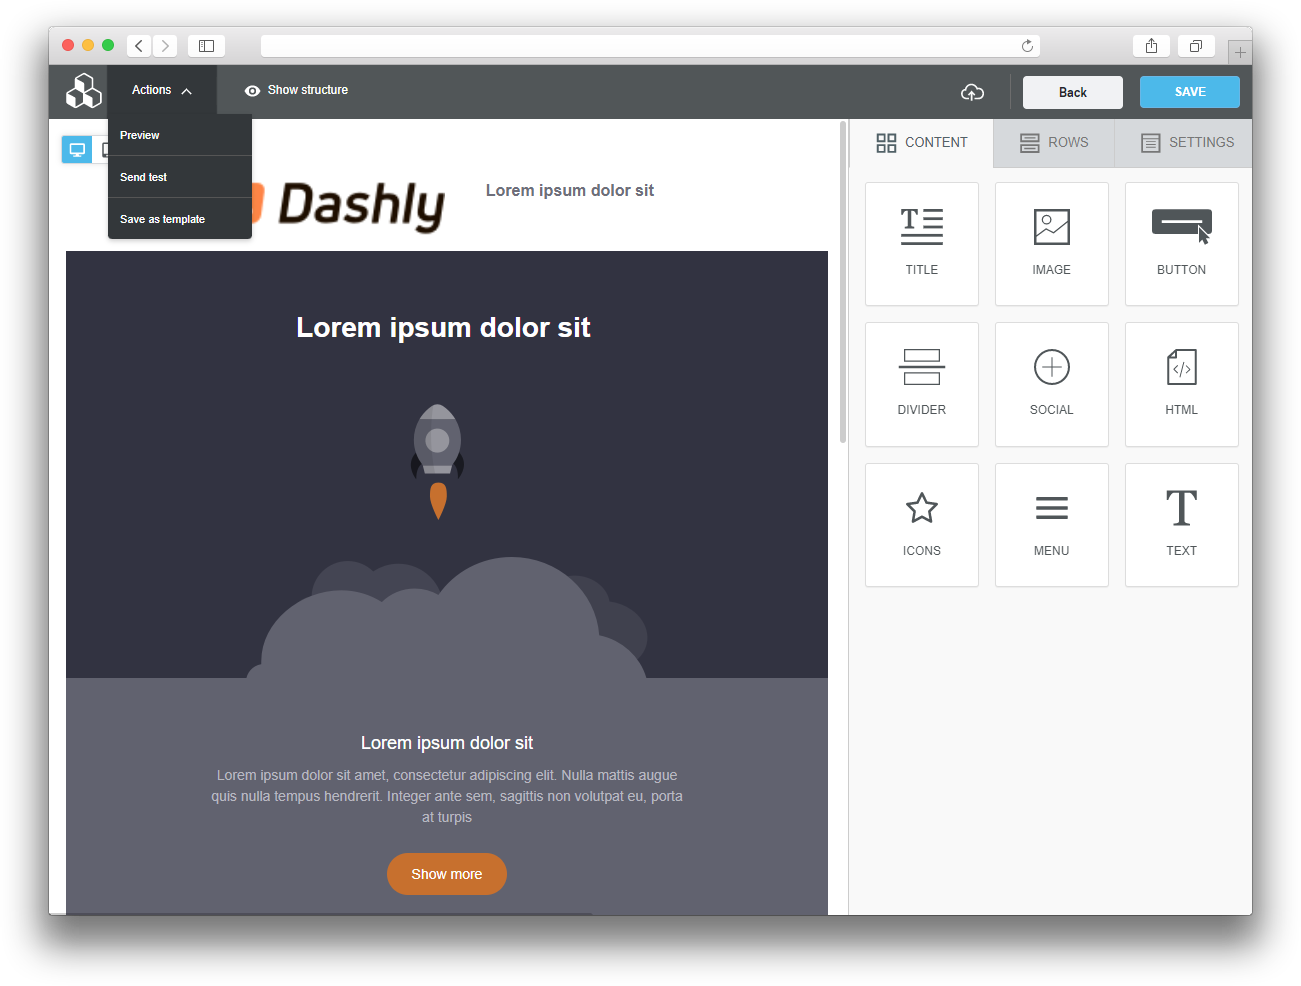
In preview mode, select the “mobile” option in the upper right corner.
7. Add the ability to unsubscribe from emails in the email footer. More details on how to do this are described here.
8. Use a common background for an email, you can change this setting here:
The background can only be selected in the panel, there is no option to attach a background image.
9. It is not recommended to place the icon and text on the same line (otherwise the content may not be displayed correctly on a mobile device).
10. The undo / redo buttons are located in the lower left corner.