Email notifications about new leads
Using this integration, you’ll be able to receive automatic emails notifying you about new leadbot replies. As soon as the user reaches a certain leadbot block, or has a certain event recorded in their card, an email with the information is sent to the address you set as default.
Sales managers then can promptly react, and market specialists will be able to collect more leads to warm them up further.
Setting up the integration
Go to the “Integration” section, locate “Email notifications about leads” and create a new integration.
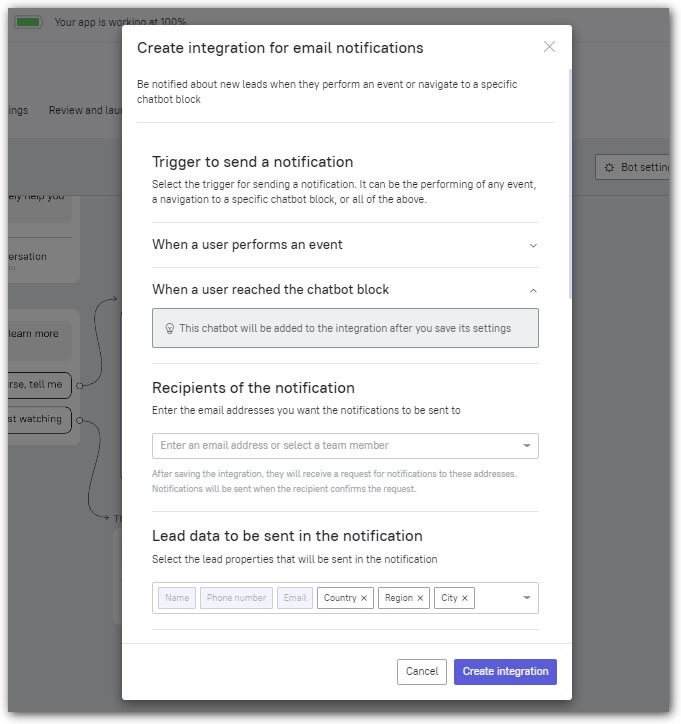
Choosing the trigger
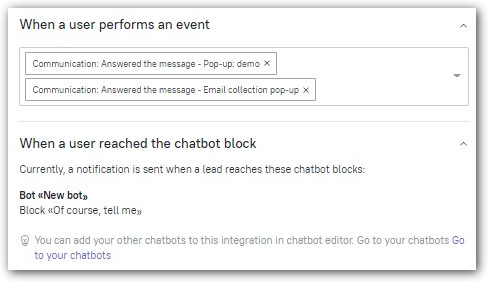
In this step you can choose the trigger that would set off the notification. You can either choose events or a certain leadbot block.
You can also choose several events and bot blocks, as well as choose blocks from different bots.
Some examples of the setting:
2. Choosing the recipients
Add email addresses you want reply notifications to be sent to. You can choose team members’ email addresses so they can receive them too.
After the address is added, a confirmation request is sent. Tips next to the email address show if the email owner hasn’t confirmed their address yet, or if they have unsubscribed at all.
Choosing lead data to be sent
Email address, name and phone number is sent by default. You can choose any other lead property to add to the notification.
4. Note for recipients
This may help notification recipients understand what they have to do with the data sent to them, like call the user back, add them to the beta test list or schedule a demo with them. The note is automatically added to all such notification emails.
Note length limit is 500 characters.
5. Email subject
A subject, as well as the note, serves to let recipients know what it’s about. The subject you set up in this setting is set as the same for all email notifications.
Email subject length limit is 255 characters.
6. Email preview
Here you can preview what the email will look like with all of the adjustments you’ve added to it:
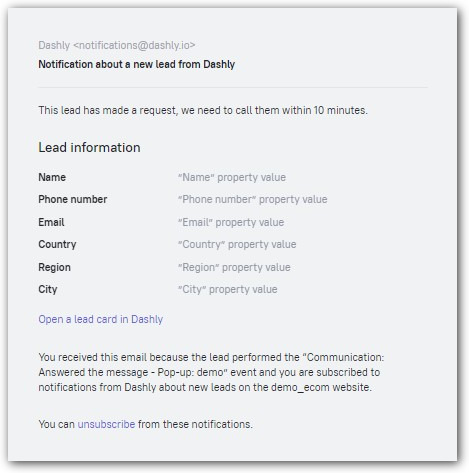
In case both events and leadbot blocks are chosen as triggers for sending the email, preview shows both final results. If you see some details missing from the preview, try going through the notification settings again.
7. Integration name
Pick a recognizable name that will help you easily understand what notifications are being sent with this integration.
Remember to save the settings.
Connecting the integration in the leadbot editor
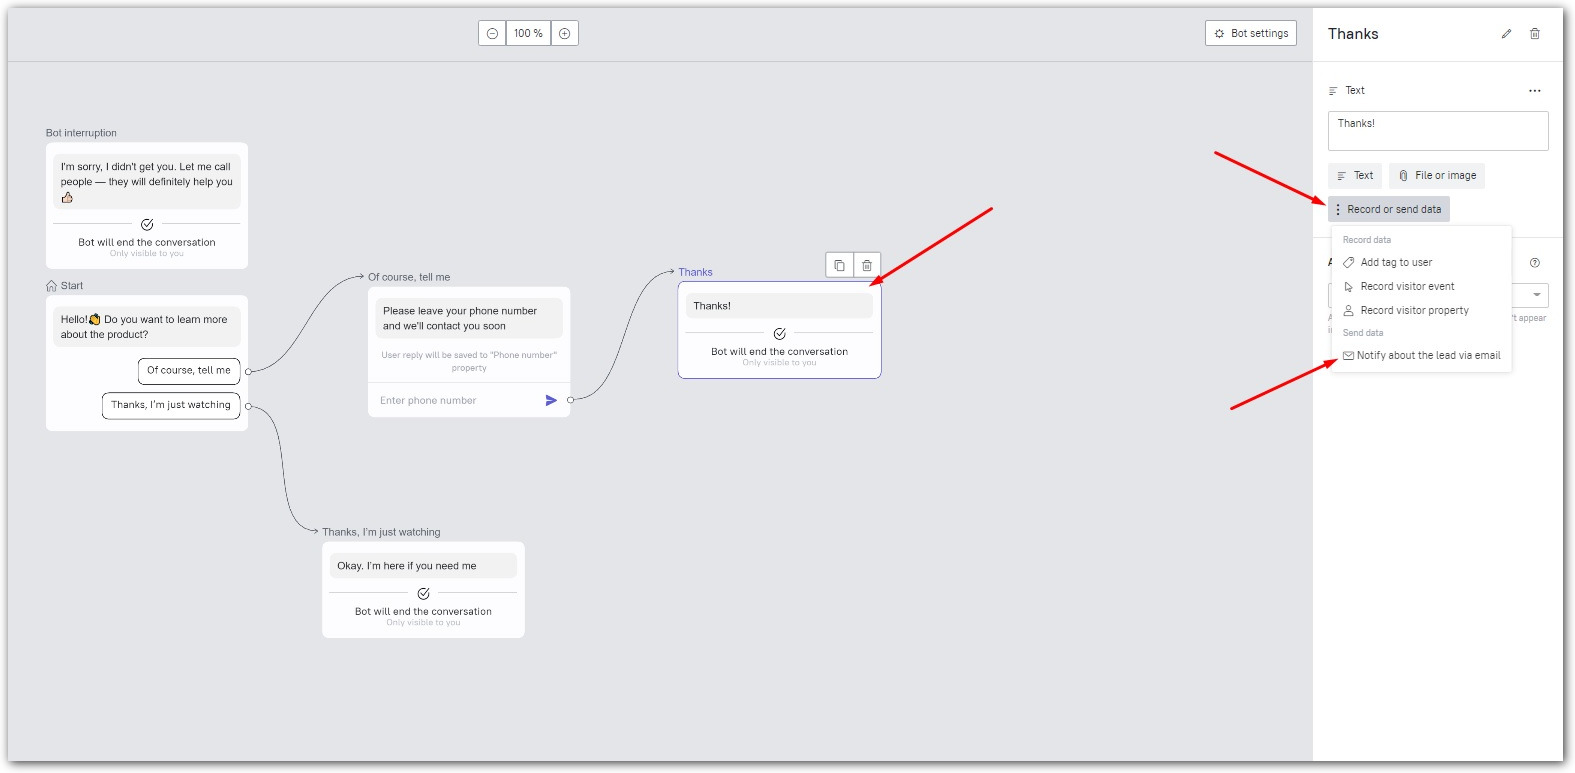
You can choose to send notifications while setting up your leadbot. Choose the block that will initiate an email notification sending. Choose the “Notify about the lead via email” option on the block editing menu:
You will then see a list of notification integrations you’ve set up. Select an integration from the list or create a new one:
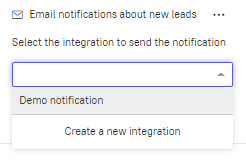
Choosing the “Create a new integration” option will show you an integration setting menu with the same options available when setting up an email notification integration in the “Integrations” section:
After you’re done with the settings, you then will be able to choose it from the list.
Connecting the integration in the triggered message editor
To set up email notifications that would work for triggered messages, choose the “Notify about the lead via email” option on the block editing menu (“Notifications and goal” tab):

Create a new notification or select one from the list.
“Create a new integration” option will show you an integration setting menu, with the same options available when setting up an email notification integration in the “Integrations” section.
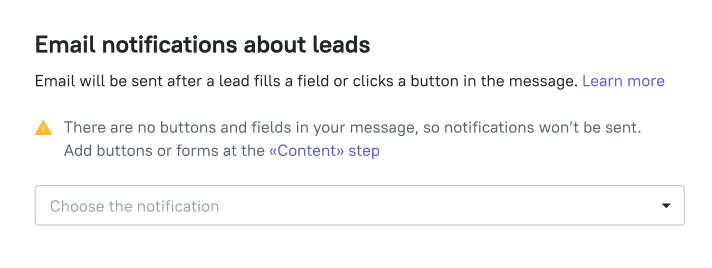
NB: email notification settings are only available for triggered messages that have form or buttons:
Pop-up
Chat
In-app messages (chats, pop-ups)
The notification cannot be set up for trigger messages with A/B test.
In case the message you’ve created does not have the forms necessary, you will get a notification: