
Triggered JavaScript
This message type can help you with the following:
Send a pop-up with unique design;
Social media retargeting;
Tracking events in Google Analytics;
Inserting forms into your website.
Triggered JavaScript may help you achieve many other goals as well.
🔥 Configuration
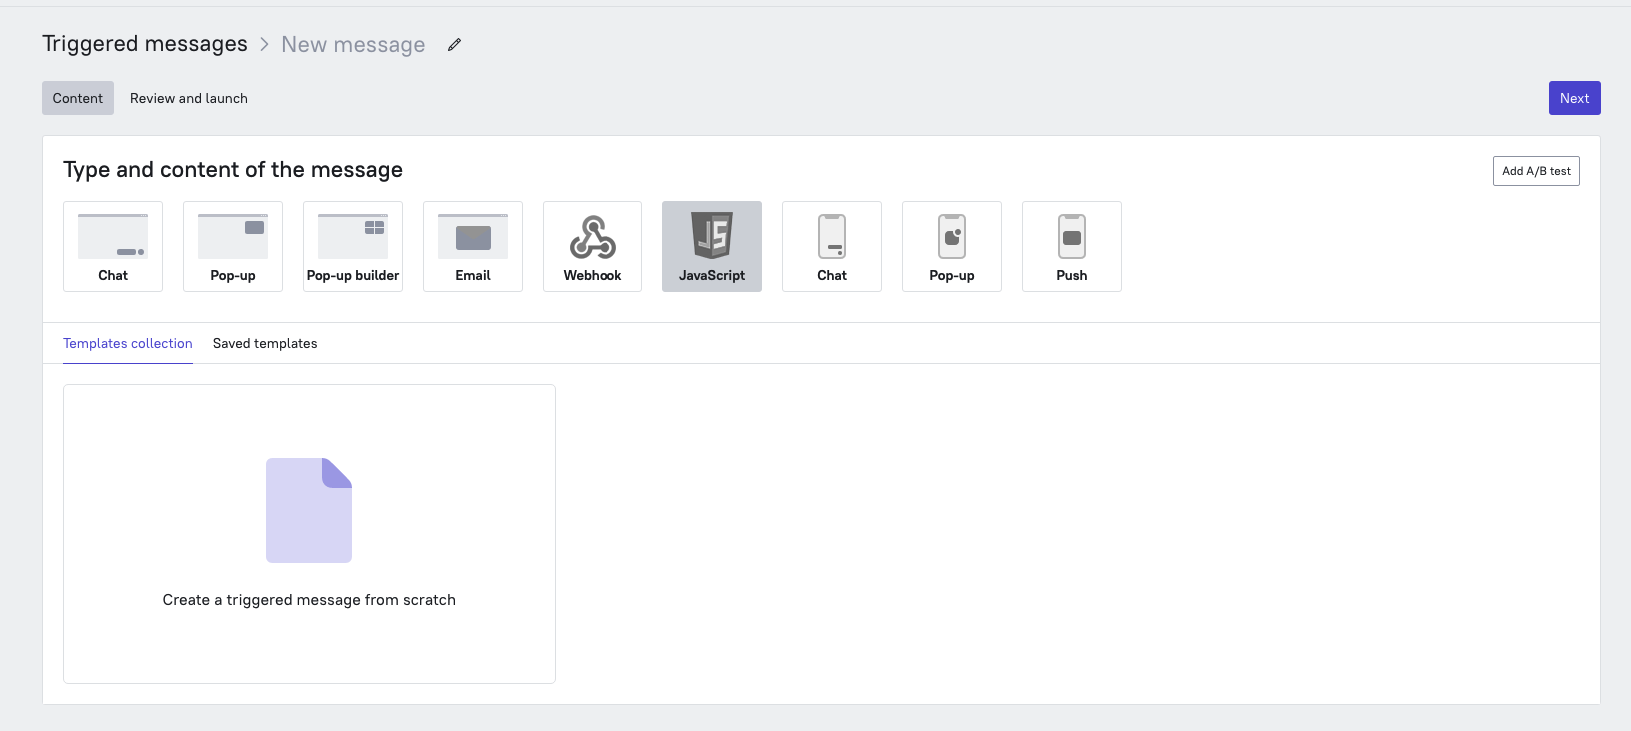
Let's see how to configure a triggered JavaScript message: Go to the “Triggered messages” – “My messages” section and click the "Create new message" button. Select “JavaScript” as the message type and then click on "Create a triggered message from scratch":
After that, you'll see a form for pasting your JavaScript code:
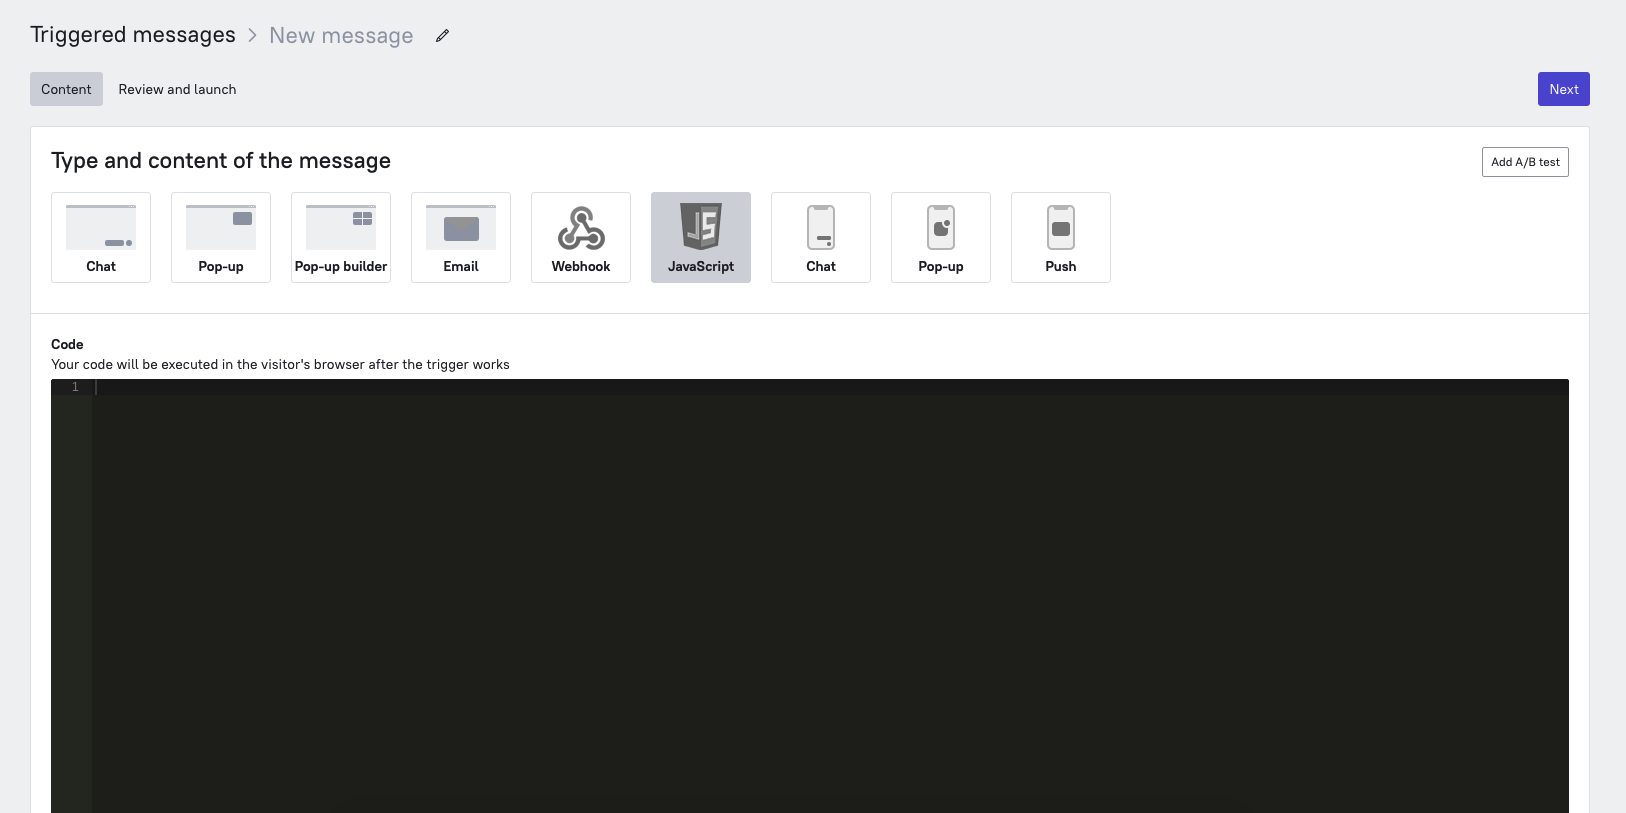
Enter your JS code here. It will work in the user's browser once they trigger it. You can configure other steps just like any other triggered message.
🔥 How to set statistics for triggered JavaScript messages?
If you’re creating JS pop-ups, you may face issues with recording the data on reading, answering and clicking links in the pop-up. How do you transfer this data? How do you make Dashly understand that a user read this particular pop-up or replied to it?
You can do it with a few lines of code.
Example: you have a pop-up with an email input field, it has "email" as its CSS selector for the email input field "link" as a CSS selector for the reply button.
Track "Message read" event:
In order to track the "Communication: Message read" event, add the following code into the code of the pop-up:
dashly.trackMessageInteraction('{{ sending_id }}', 'read');
Now, the "Communications: Message read" event will be recorded to the lead card once user reads your triggered JS pop-up, and metrics on reading it will be counted in the message statistics as well.
Track "Answered the message" event:
document.getElementById(“email”).onblur = function() { //Will cause the response event after the lead has withdrawn the focus from the field
dashly.trackMessageInteraction('{{ sending_id }}', 'replied');
};
The "Communication: Answered the message" event will be recorded into the lead card once user responds to your triggered JS pop-up, and you will be able to check the response statistics in message statistics.
Add this code in order to track "Clicked on the link in the message" event:
document.getElementById(“link”).onclick = function() {
dashly.trackMessageInteraction('{{ sending_id }}', clicked);
};
"Communications: Clicked on the link in the message" event will be recorded in the lead card, you will be able to see this event in the message statistics.
Here is a pop-up example with "Message read", "Answered the message" and "Clicked on the link in the message" events added into it:
var str = '\<style>\#cq-popup {\width: 700px;\height: 350px;\z-index: 23;\left: calc(50%);\top: calc(50%);\position: fixed!important;\padding: 60px 40px 60px 40px;\background-repeat: no-repeat; \background-position: right;\background-color: #fff;\font-family: Open Sans, sans-serif;\transform: translate(-50%, -50%) scale(1);\}\#cq-popup h3 {\font-size: 40px;\padding: 0;\width: 500px;\float: left;\text-align: left;\margin-bottom: 10px;\}\#cq-popup > div {\width: 500px;\font-size: 27px;\line-height: 36px;\}\#cq-popup-btclose {\text-decoration: none;\font-size: 29px;\position: absolute;\right: 10px;\top: 0px;\}\#cq-popup-bg {\cursor: pointer;\position: fixed;\top:0; \width: 100%; \height: 100%;\background: rgba(51,51,51,0.8);\z-index: 22;\}\</style>\<div id="cq-popup-bg"></div>\<div id="cq-popup">\<a id="cq-popup-btclose">×</a>\<h3>\Hello\</h3>\<div>Hello world!</div>\<a href="https://example.com" id="cq-link">Link example</a><input id="cq-popup-js-input" type="email" placeholder="ENTER YOUR EMAIL"></div>\</div>\';//Add pop-up to your pagevar div = document.createElement('div');div.innerHTML = str;document.body.appendChild(div);//Track message read event. "Communication: Message read" event will appear in lead carddashly.trackMessageInteraction('{{ sending_id }}', 'read');//Track message replied event. "Communication: Replied to the message" event will appear in lead carddocument.getElementById(“cq-popup-js-input”).onblur = function() {dashly.trackMessageInteraction('{{ sending_id }}', 'replied');};//Track whether lead followed a link in the messagedocument.getElementById(“cq-link”).onclick = function() {dashly.trackMessageInteraction('{{ sending_id }}', clicked);};//Pop-up close functiondocument.getElementById('cq-popup-btclose').onclick = function () {document.getElementById('cq-popup-bg').remove();document.getElementById('cq-popup').remove();}
Click "Create and launch" if all settings are correct and if you want your JS pop-up to start working right now. Alternatively, you can just click "Create and launch later".